Back in Time with Black and White Film

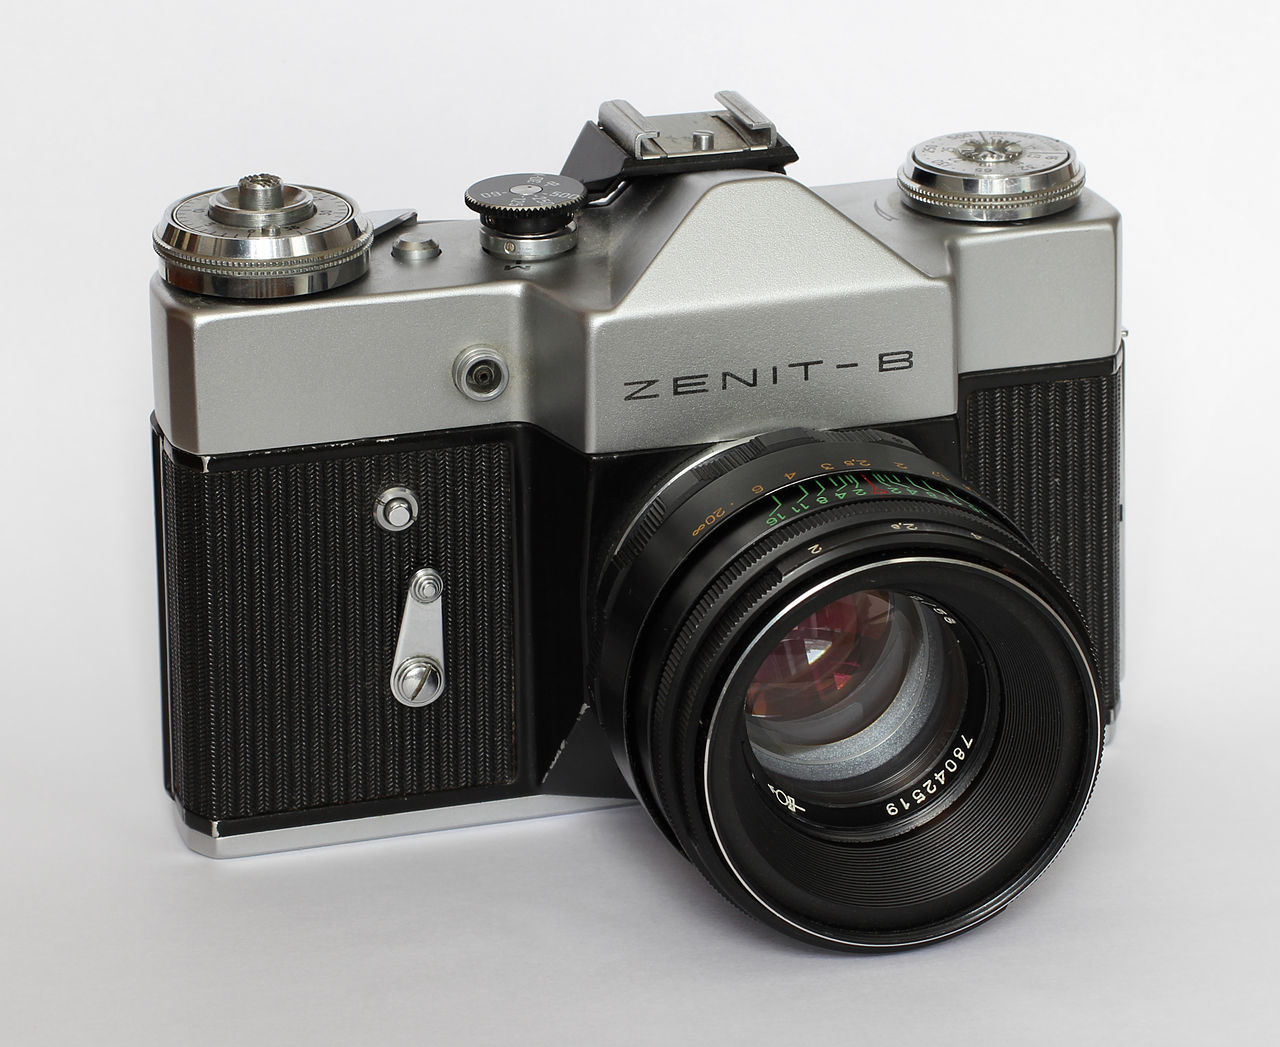
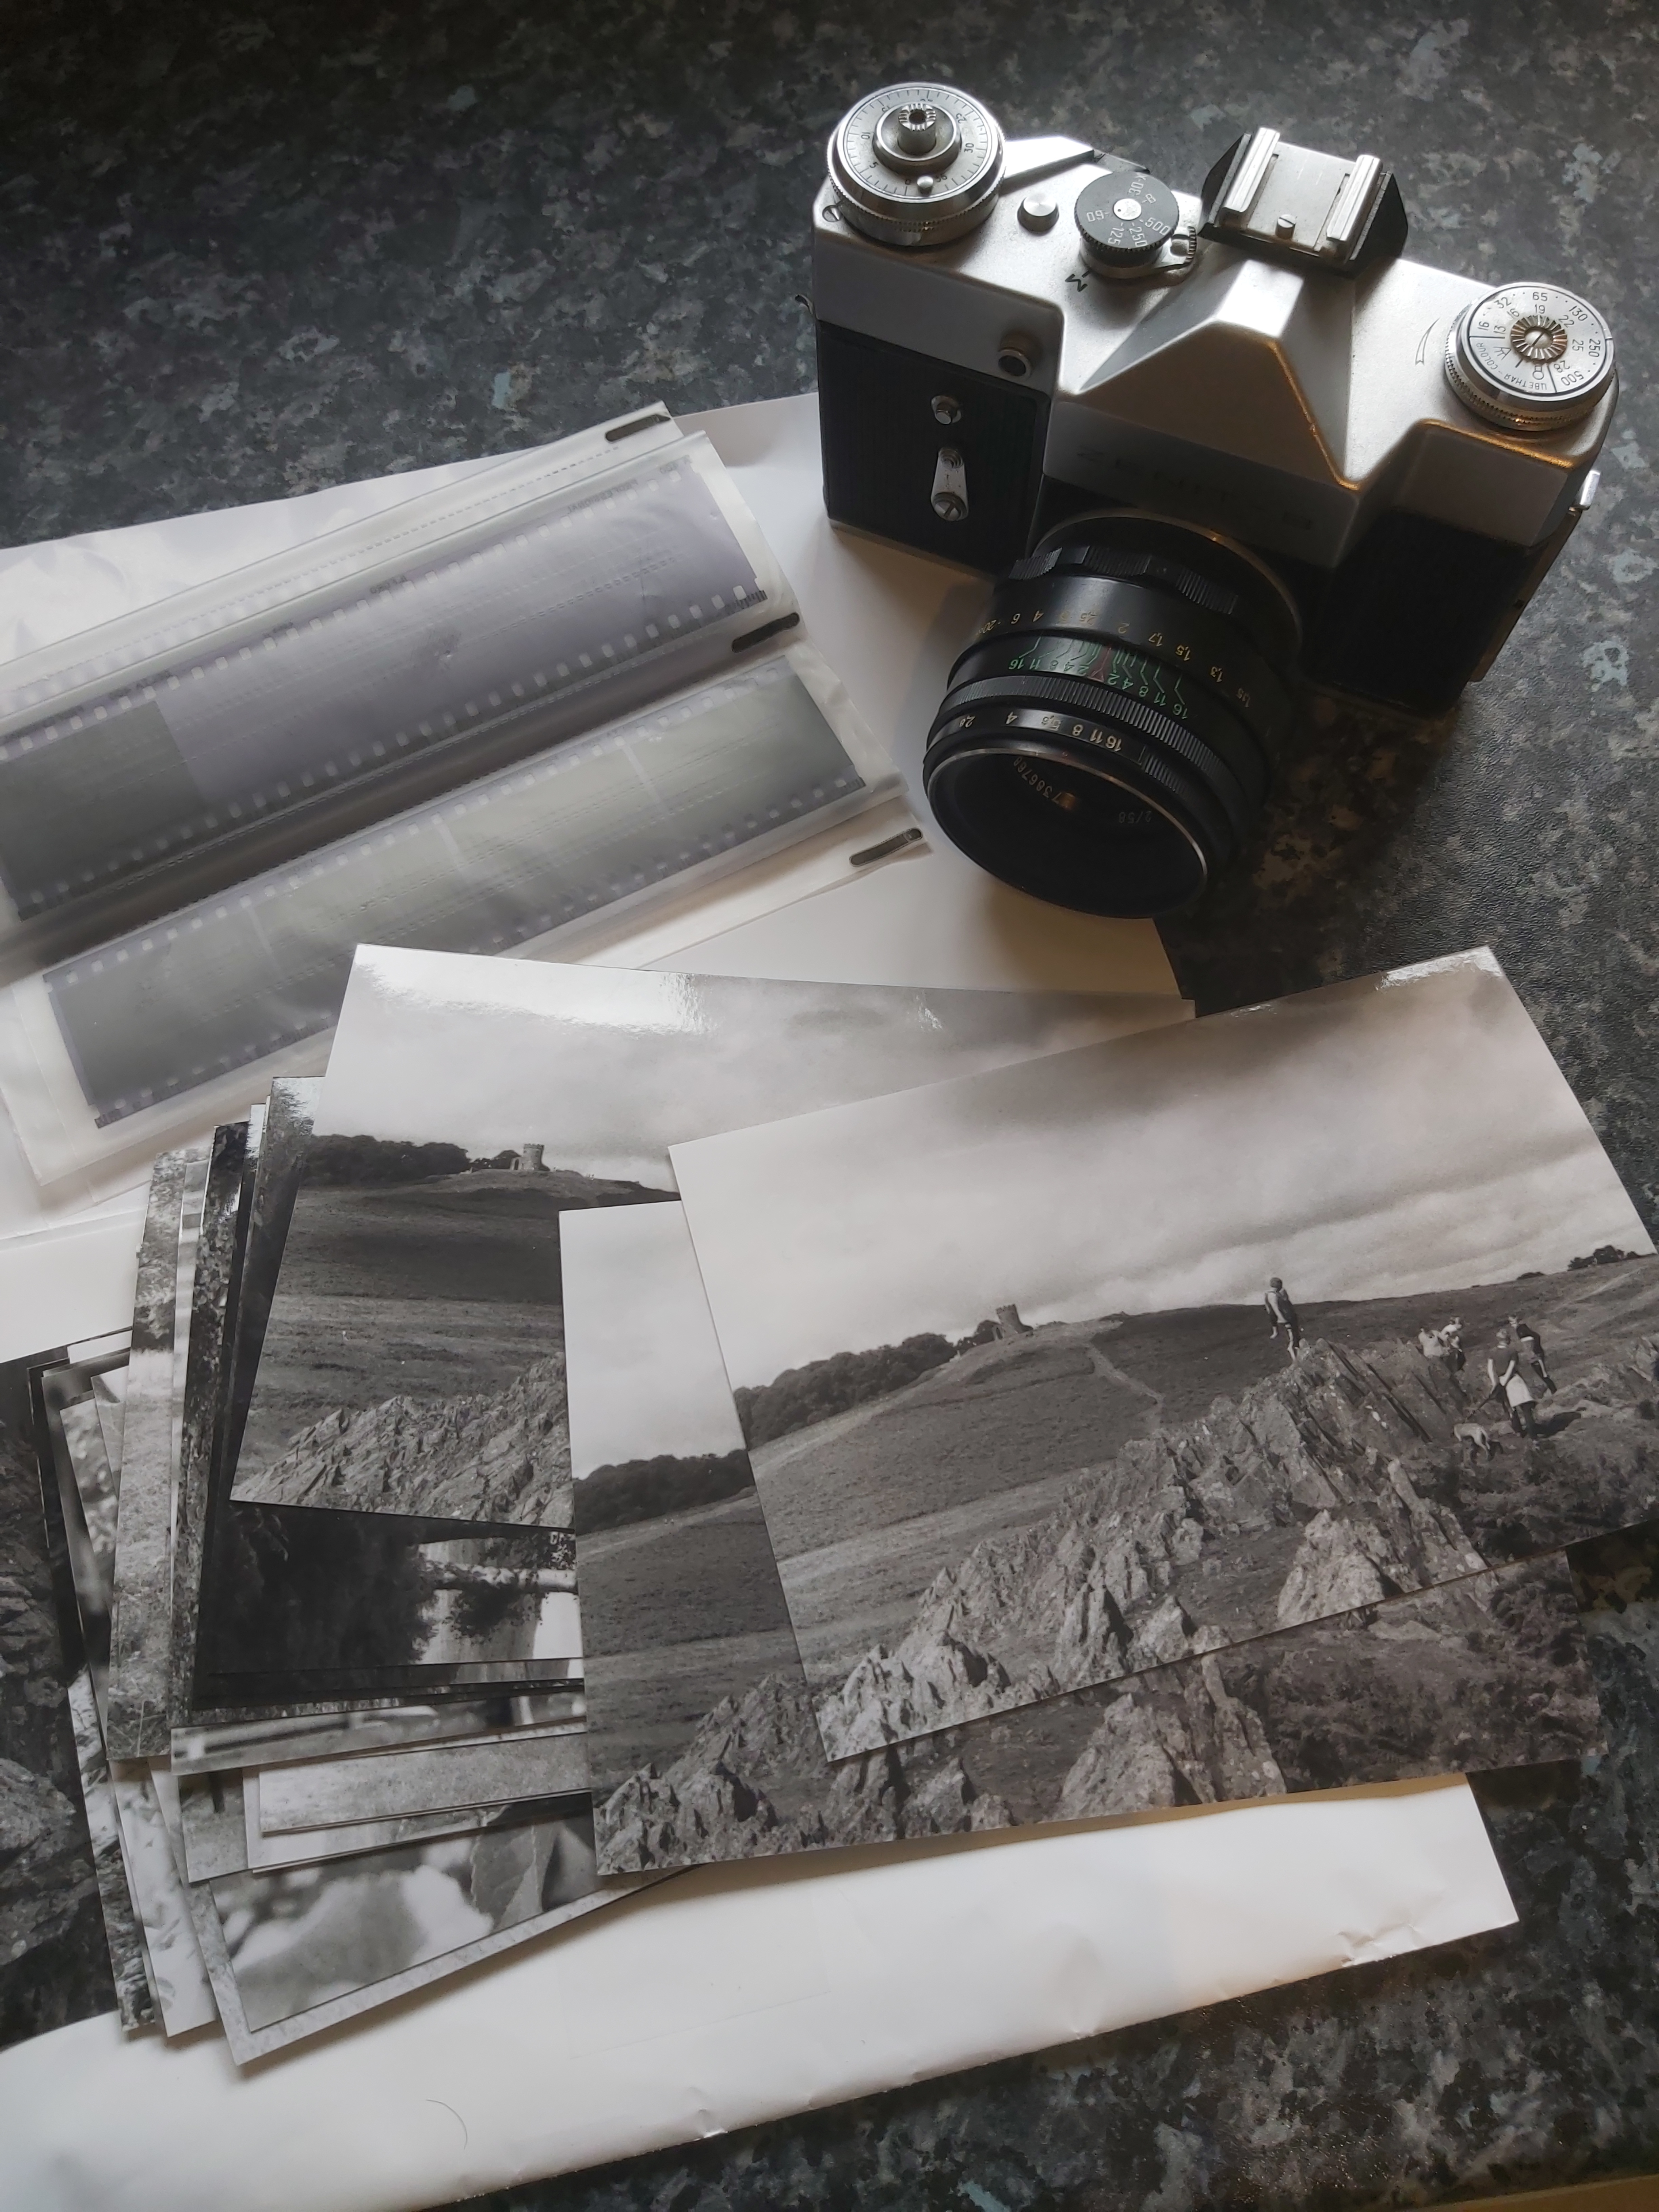
It was my birthday in July and the present that surprised me most was an old Zenit-B film camera. I hadn’t asked for this camera but it was in fact my first camera that I had when I first became seriously interested in photography in the late 1970s. So, it just had to be done. I bought a film and literally stepped back in time.

The Zenit-B Camera

The Zenit-B is a purely mechanical 35mm SLR without a light meter. It has no automatic diaphragm; the lens has to be stopped down manually after focusing. There were also no focusing aids apart from the plain ground-glass screen.

The lens is Helios-44-2 58mm f/2.8, M42 screw mount, filter thread: 44mm

All Zenit-B produced between 1968-73.

You can find all of the info here

I used a Black and White Ilford Delta 400 film. I decided to go for a higher ISO to give me a few more options on settings but I would be losing some quality in the end results.

The Task

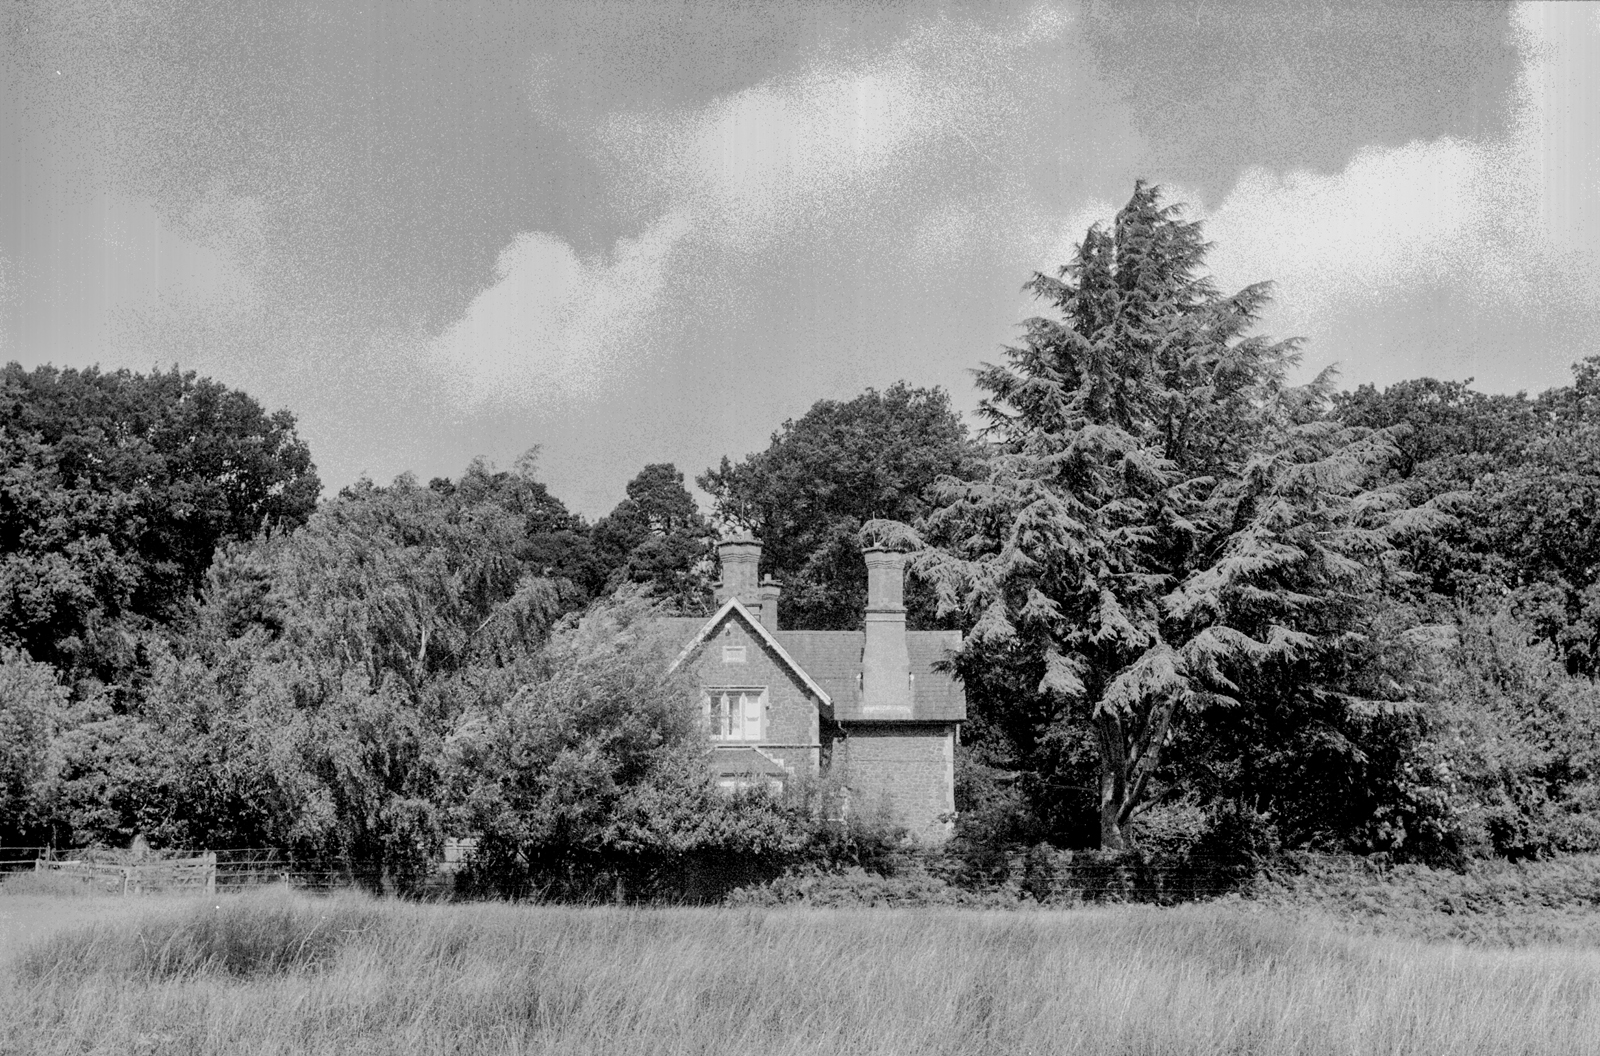
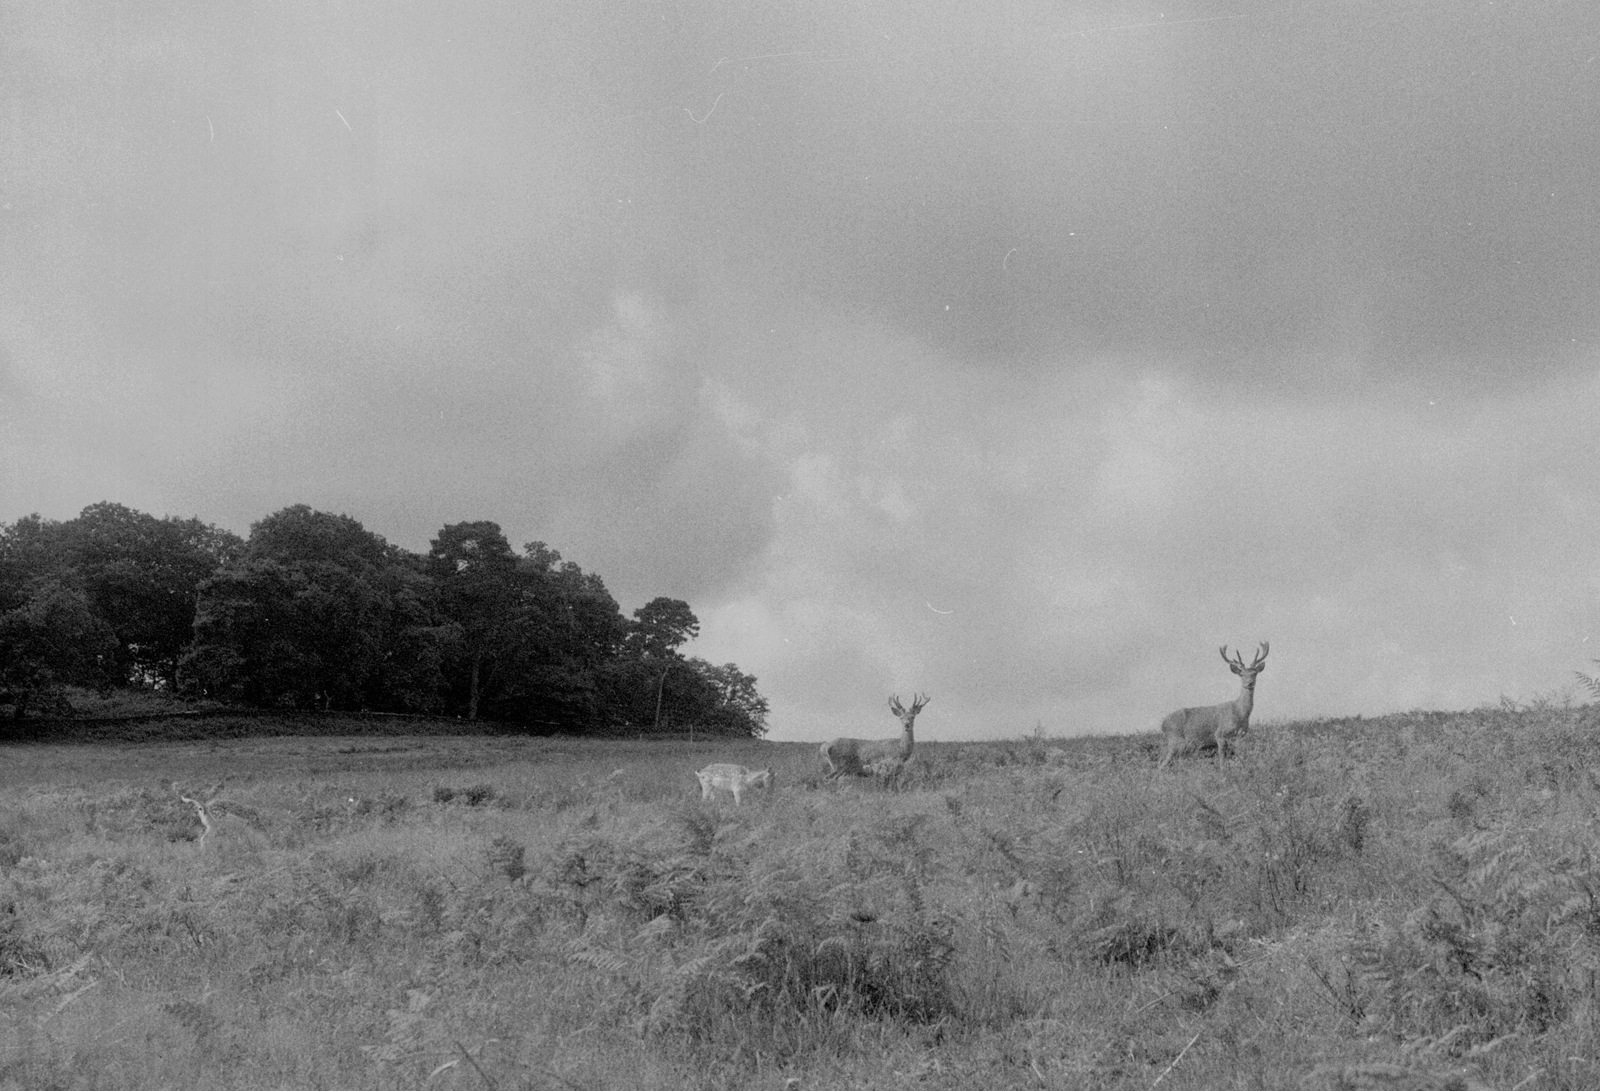
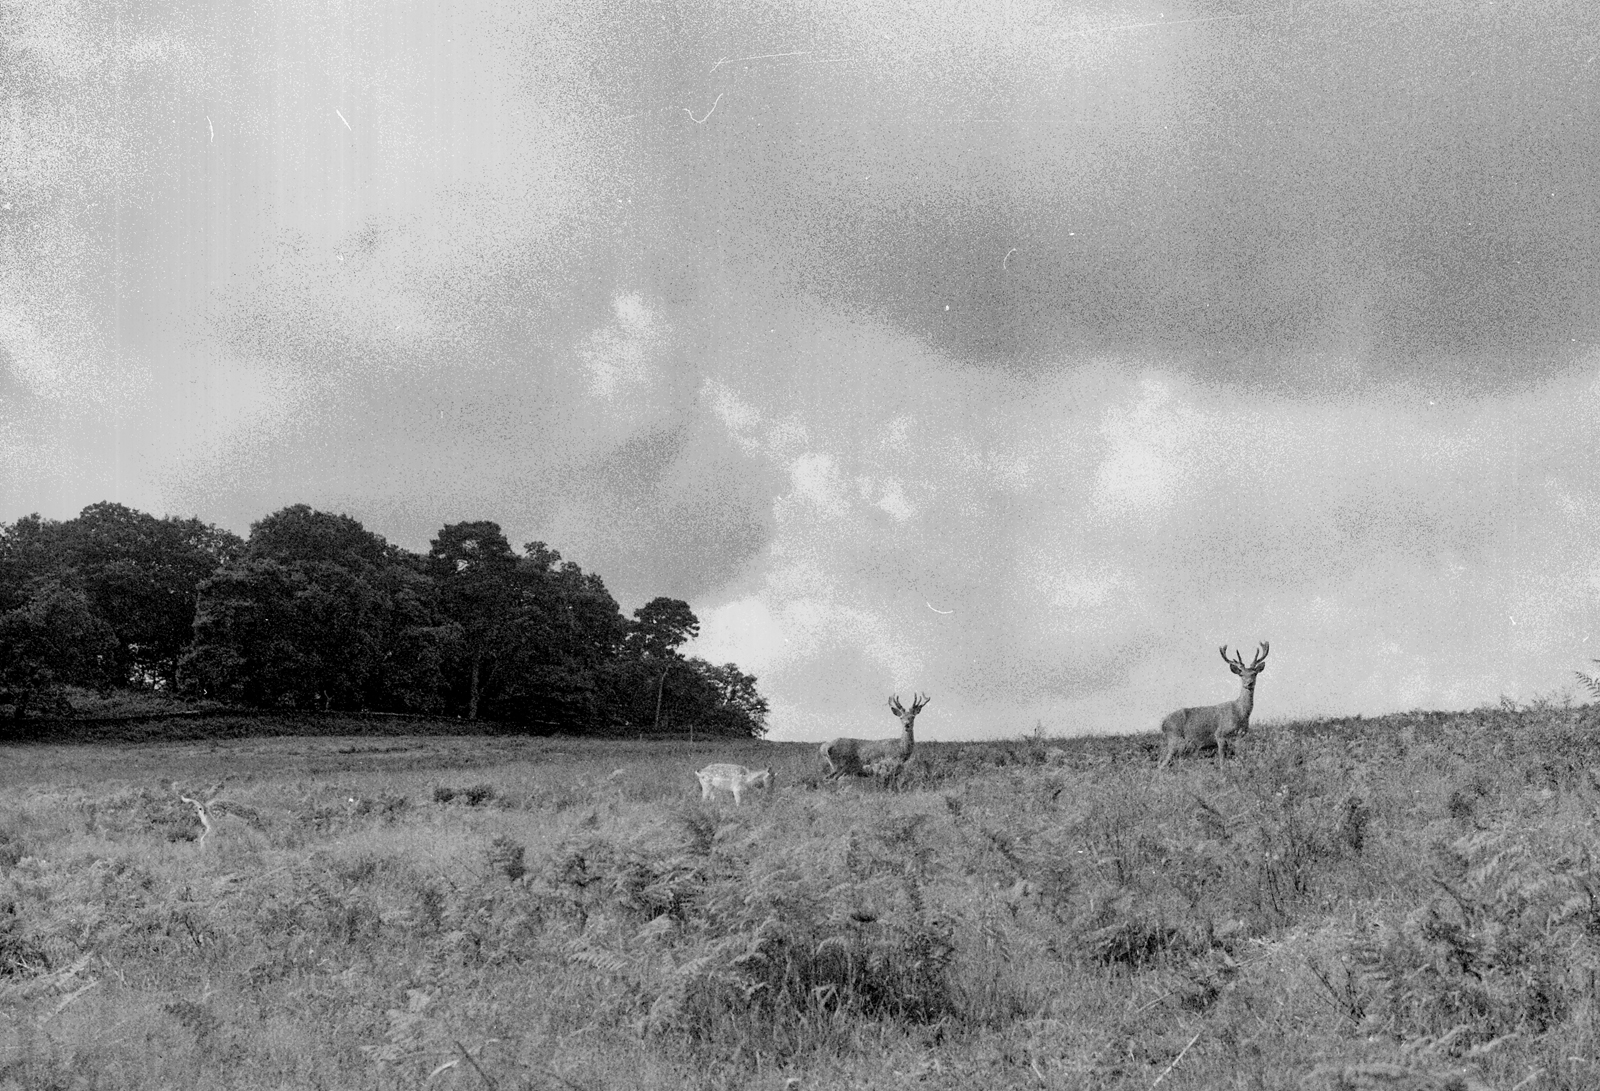
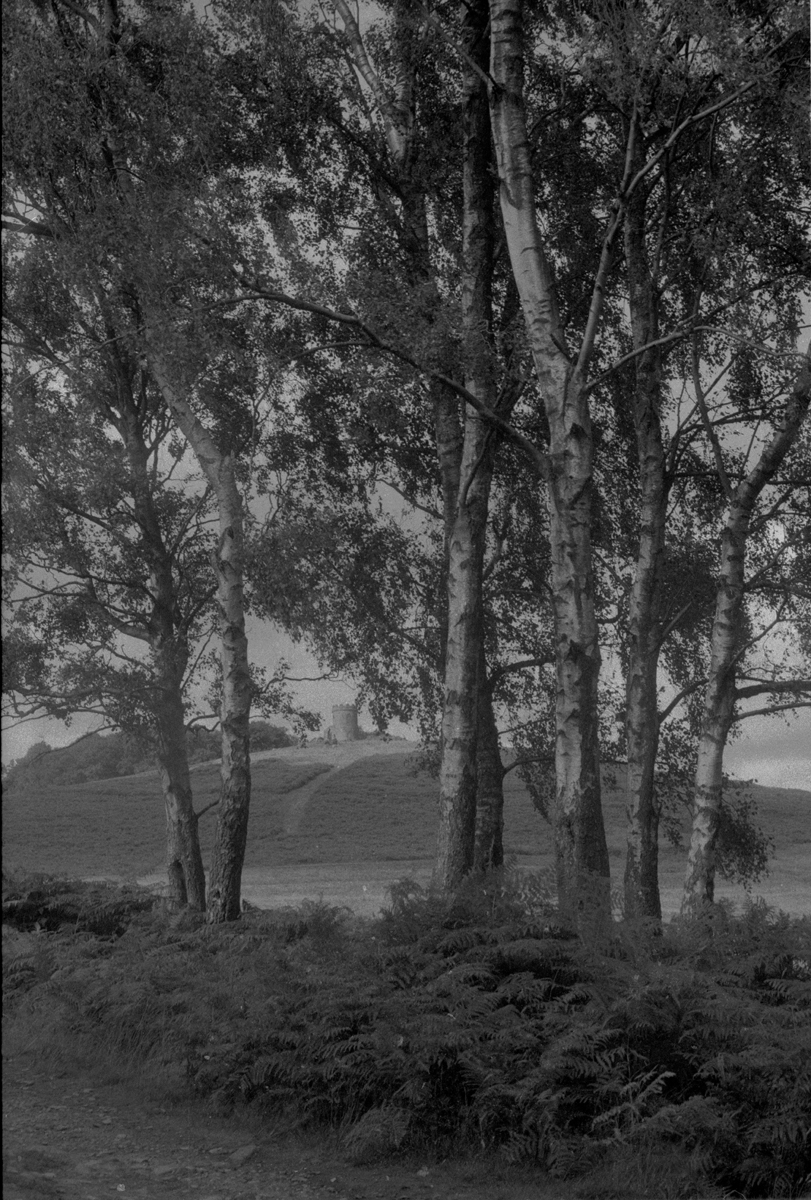
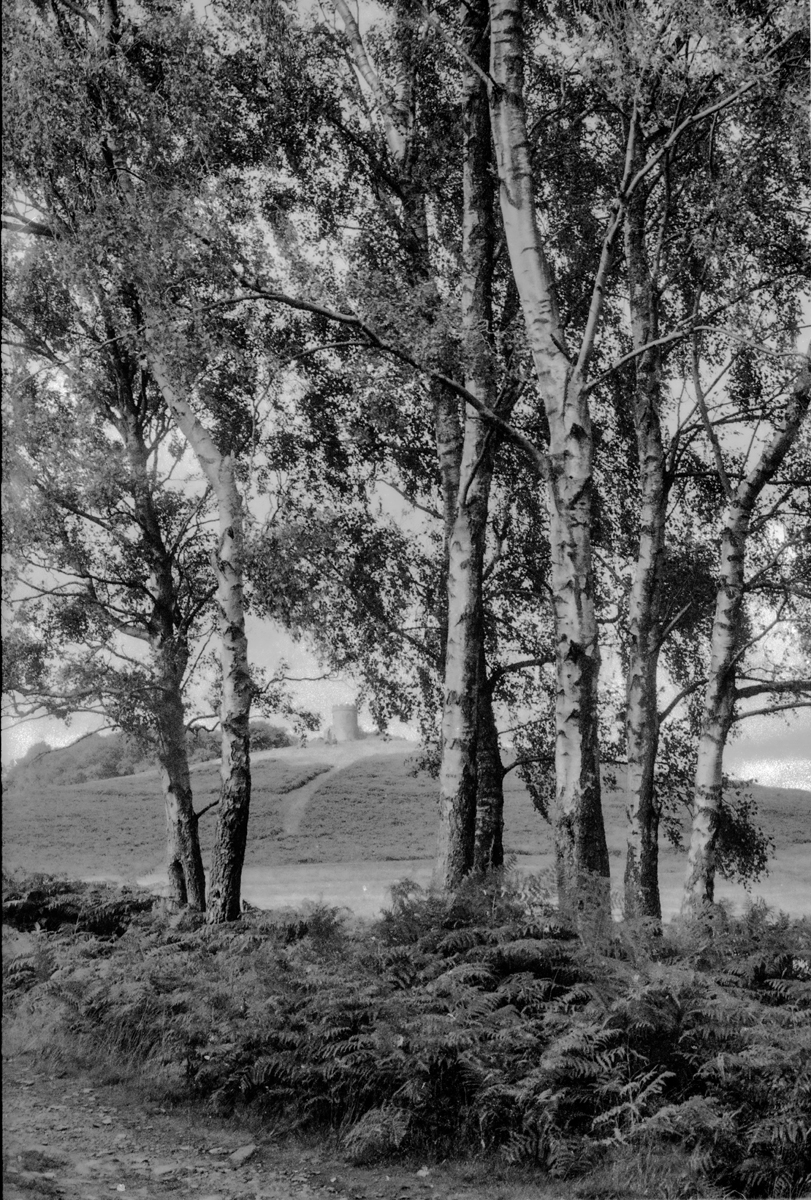
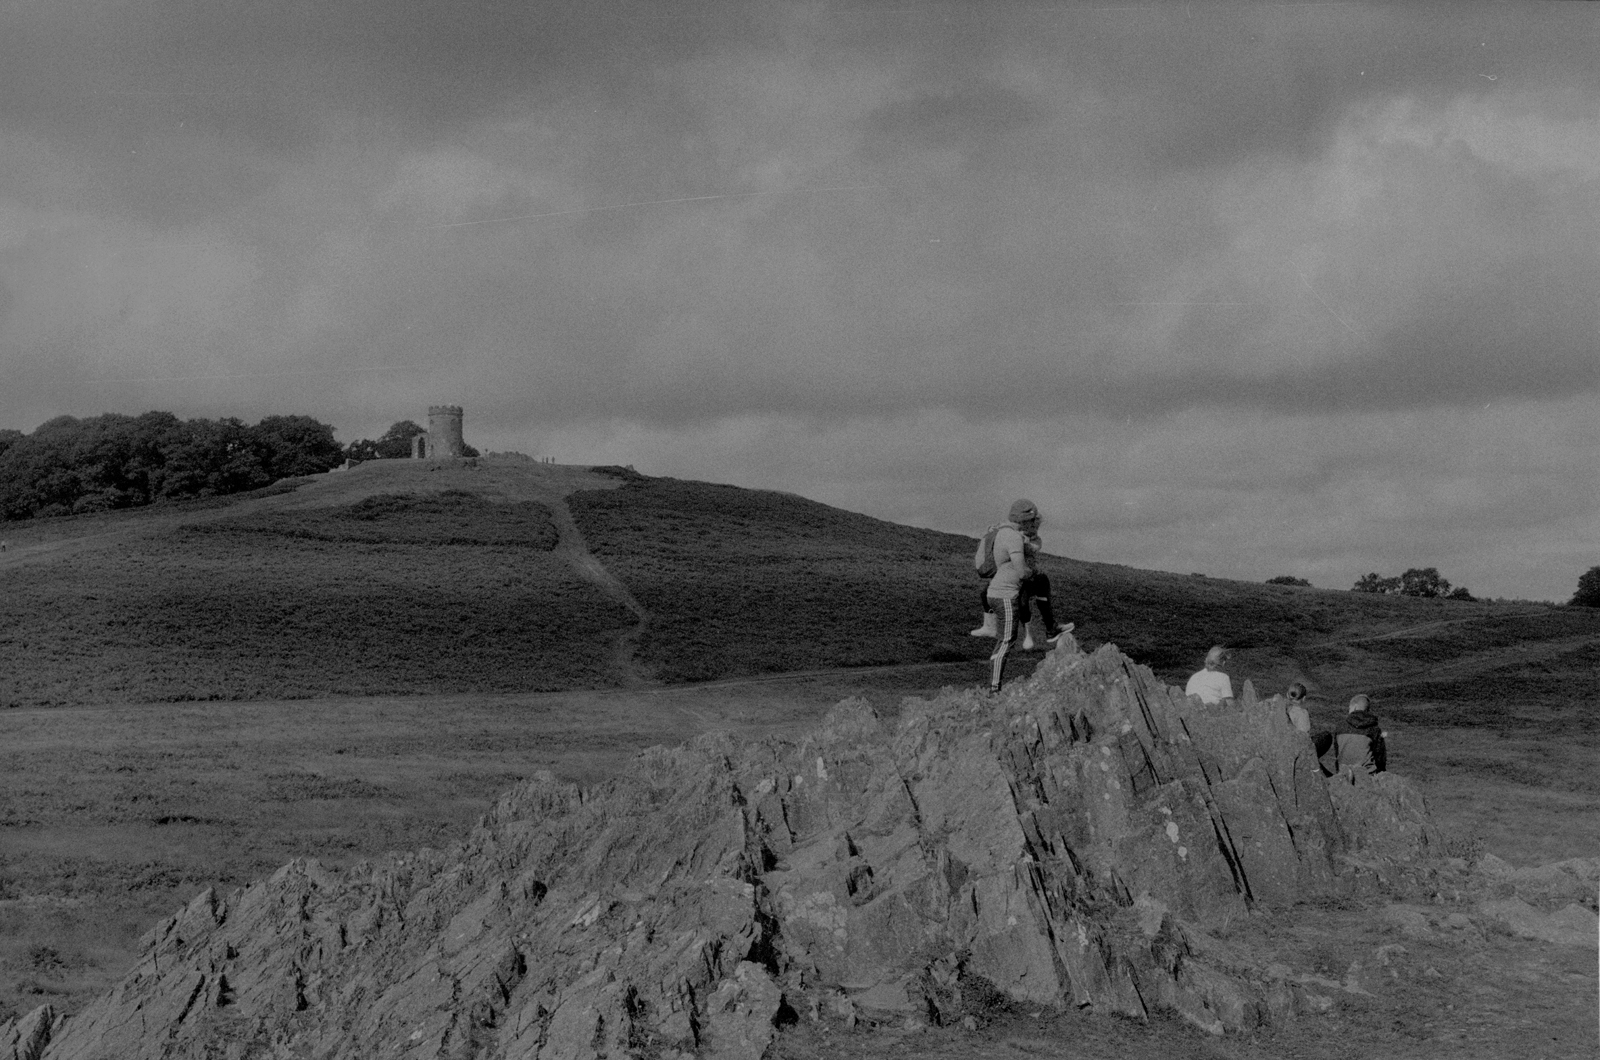
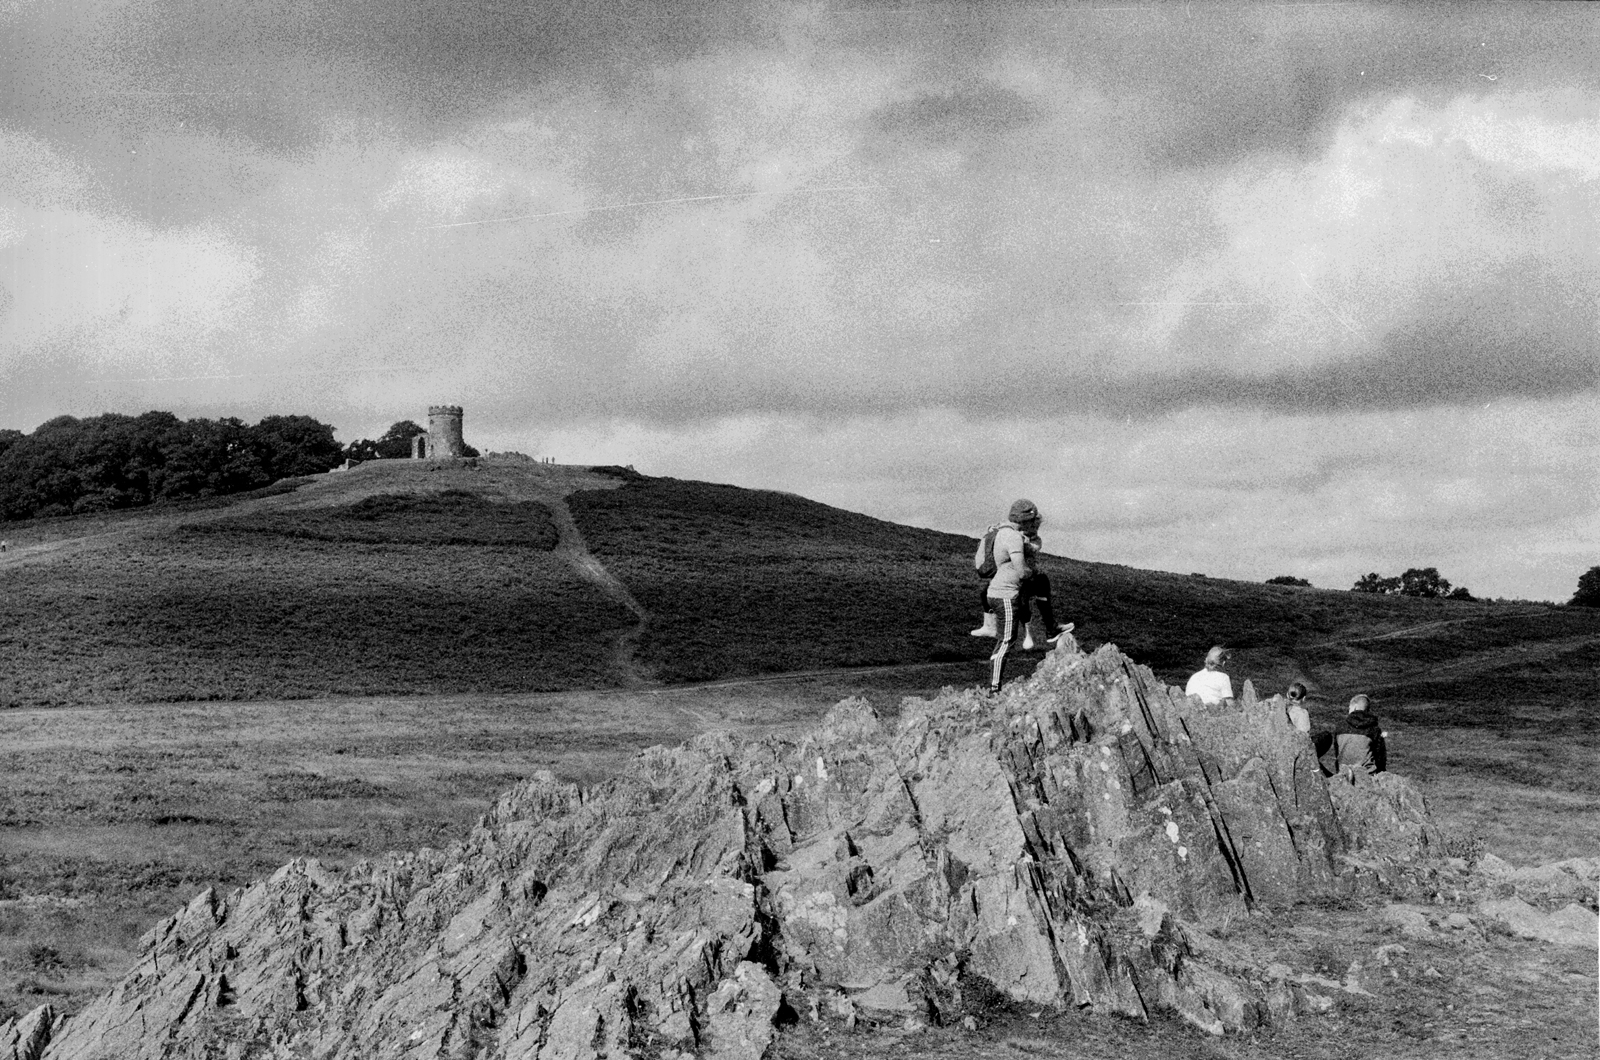
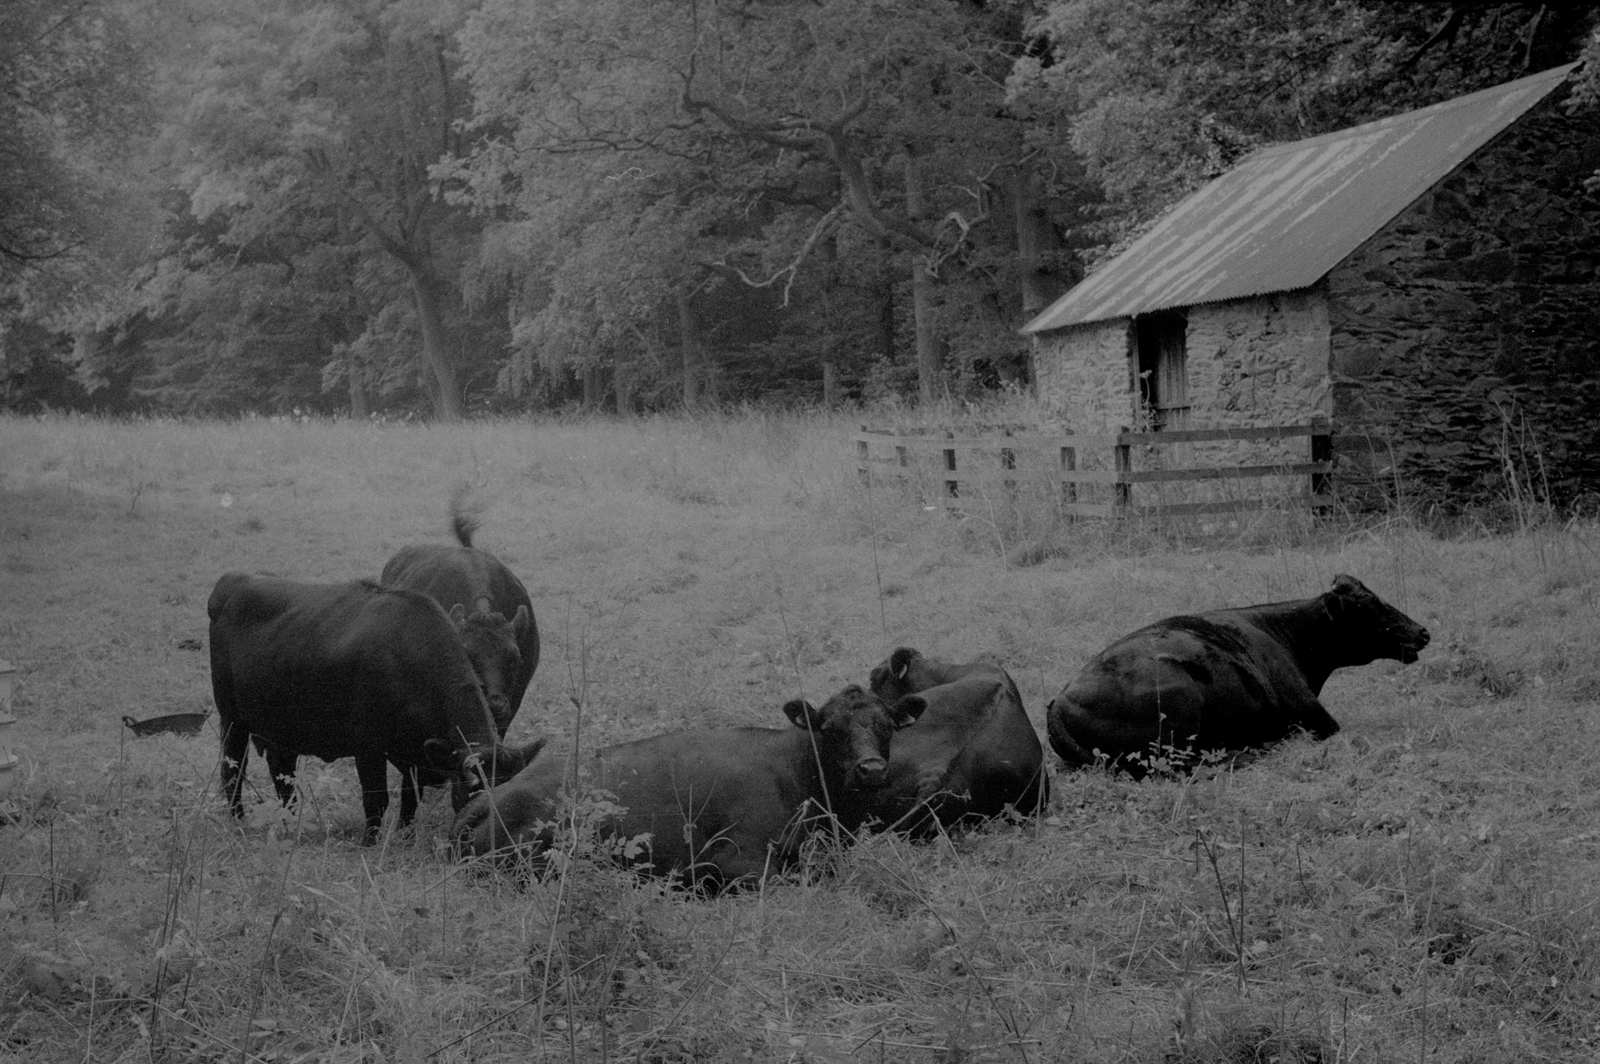
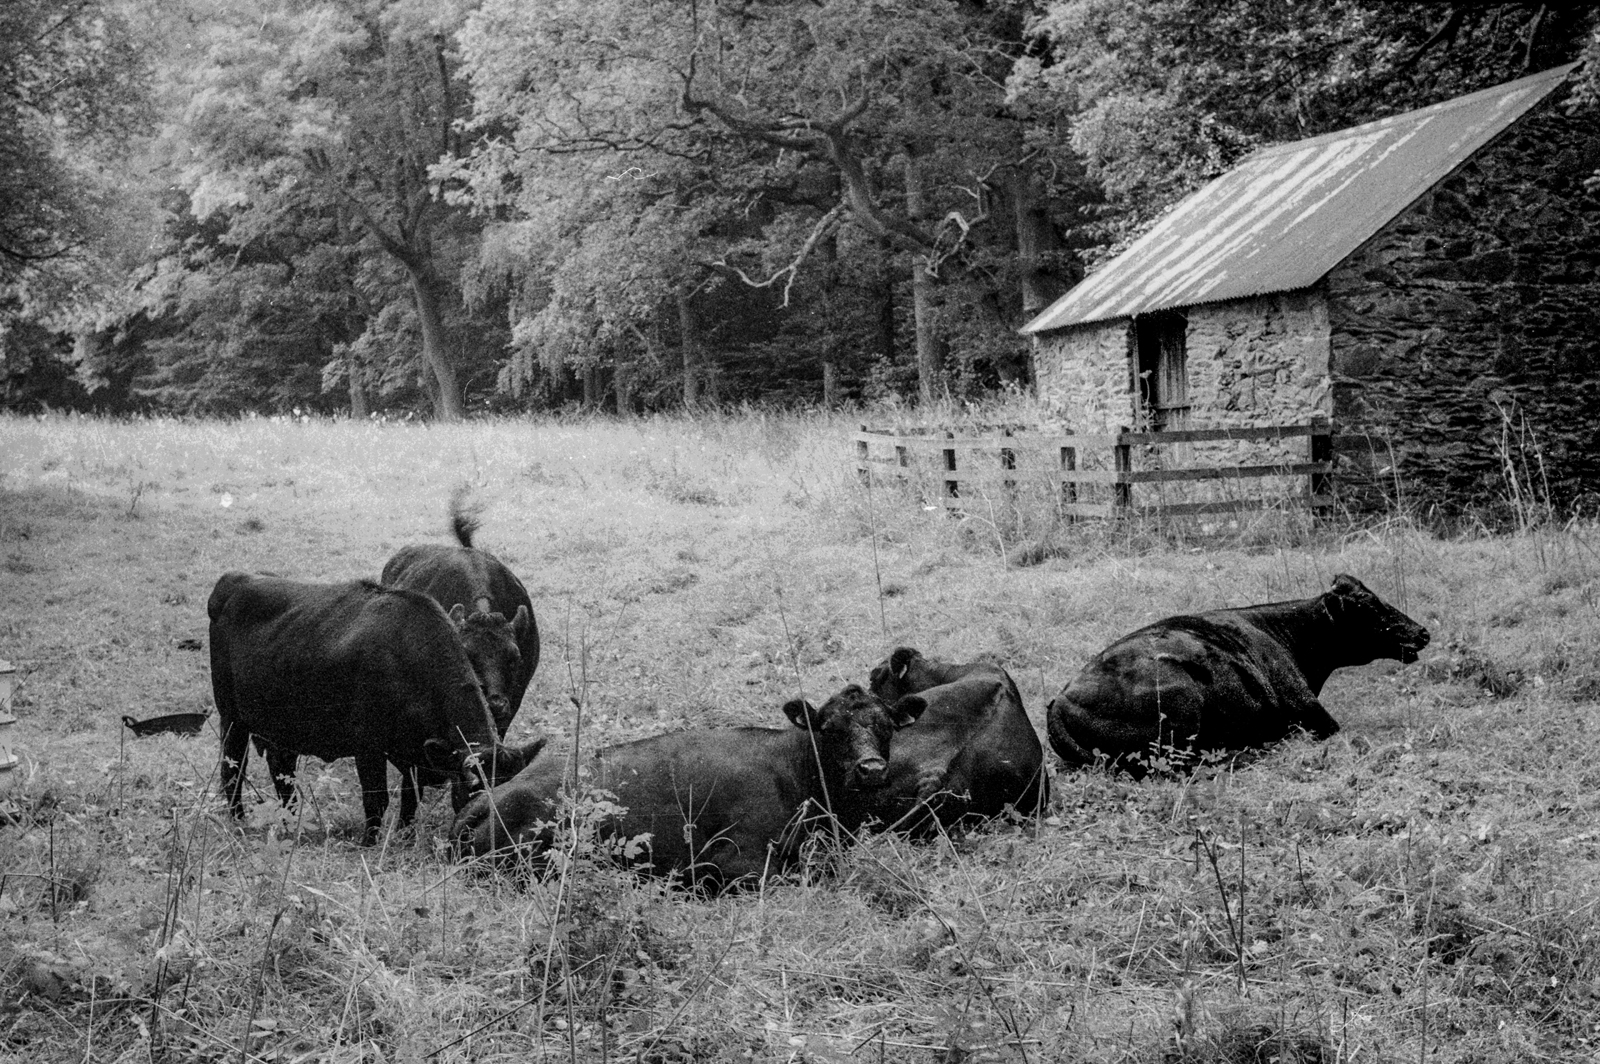
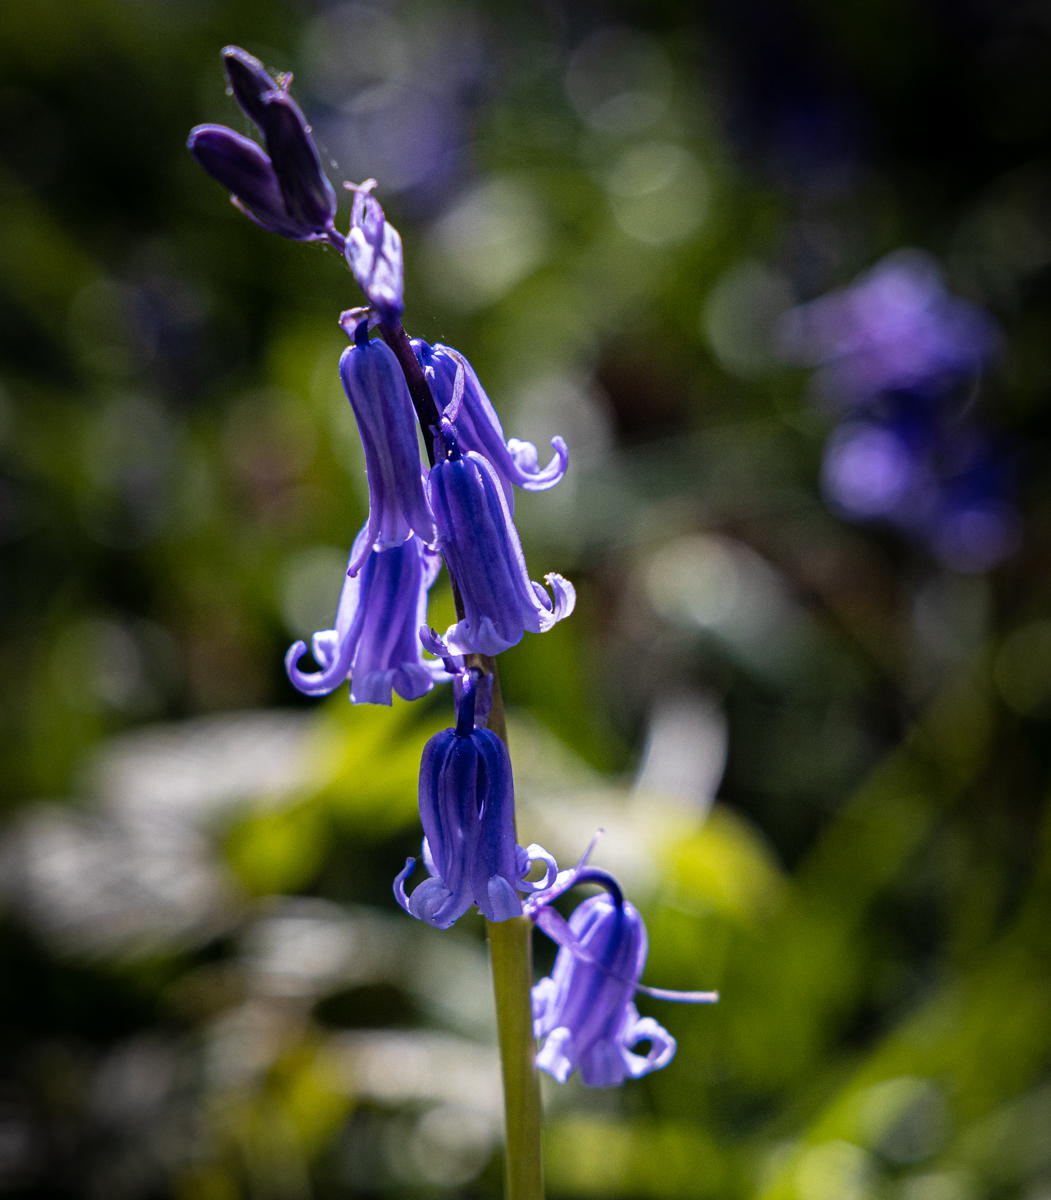
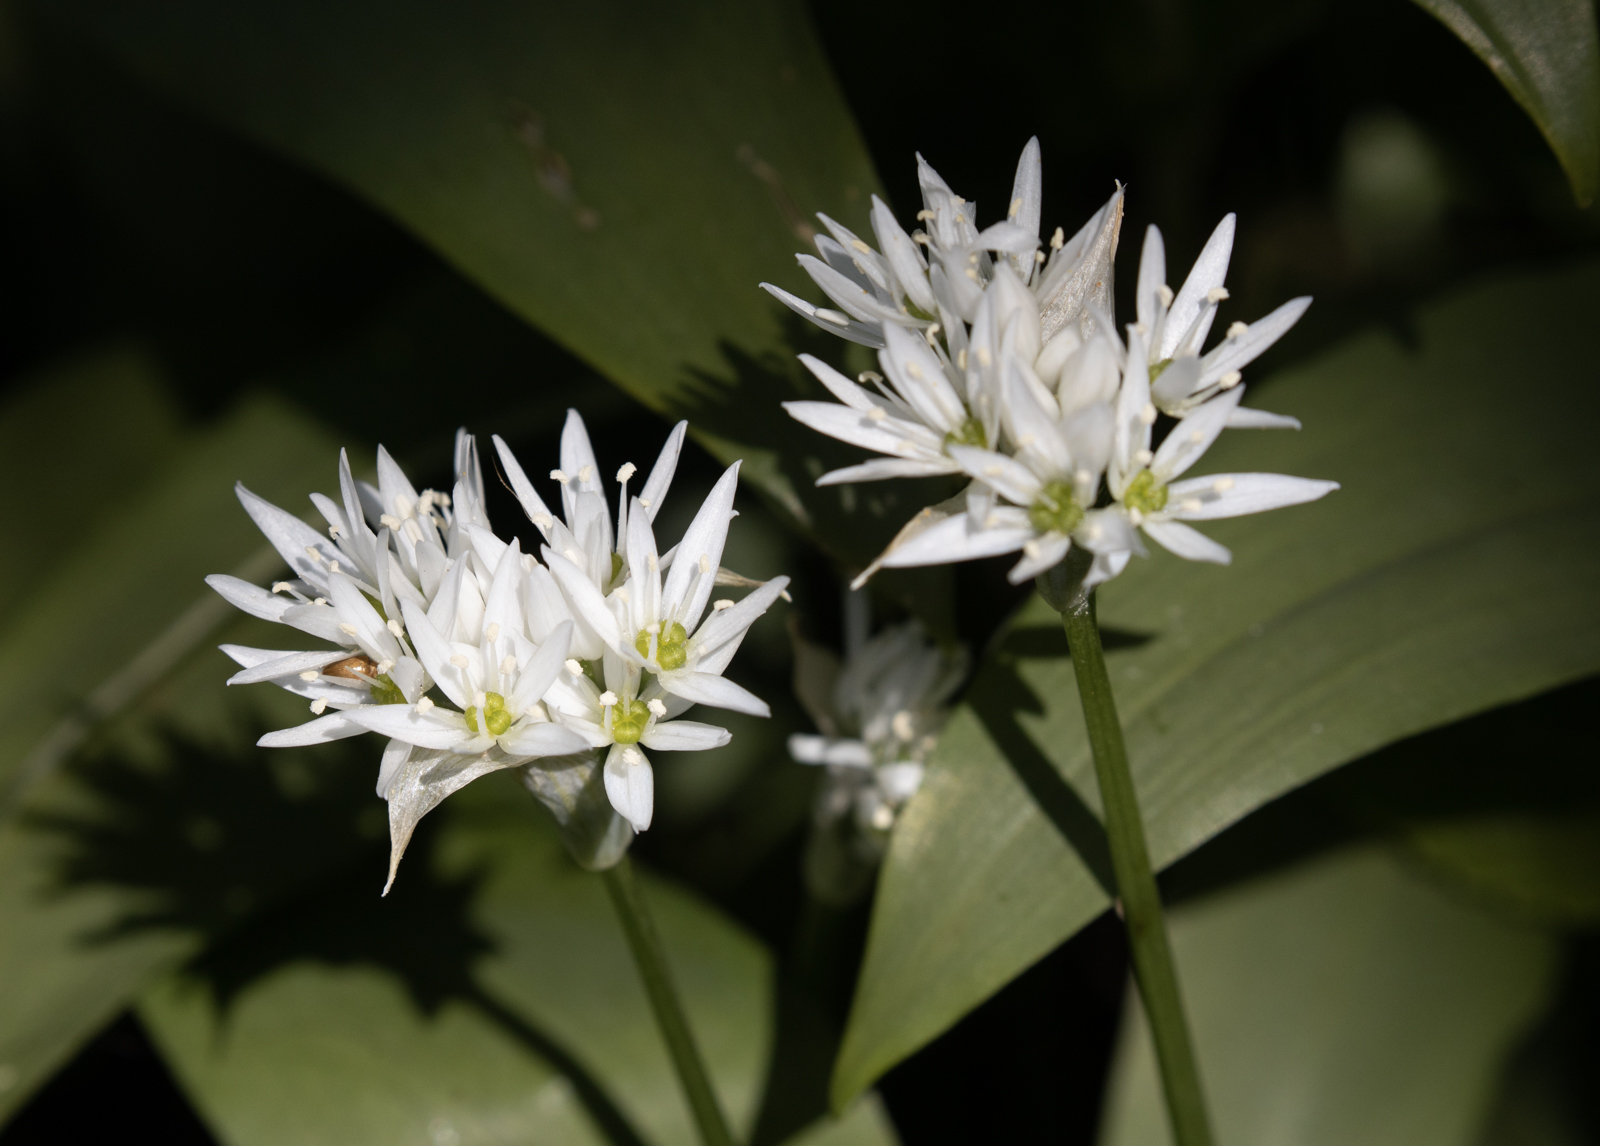
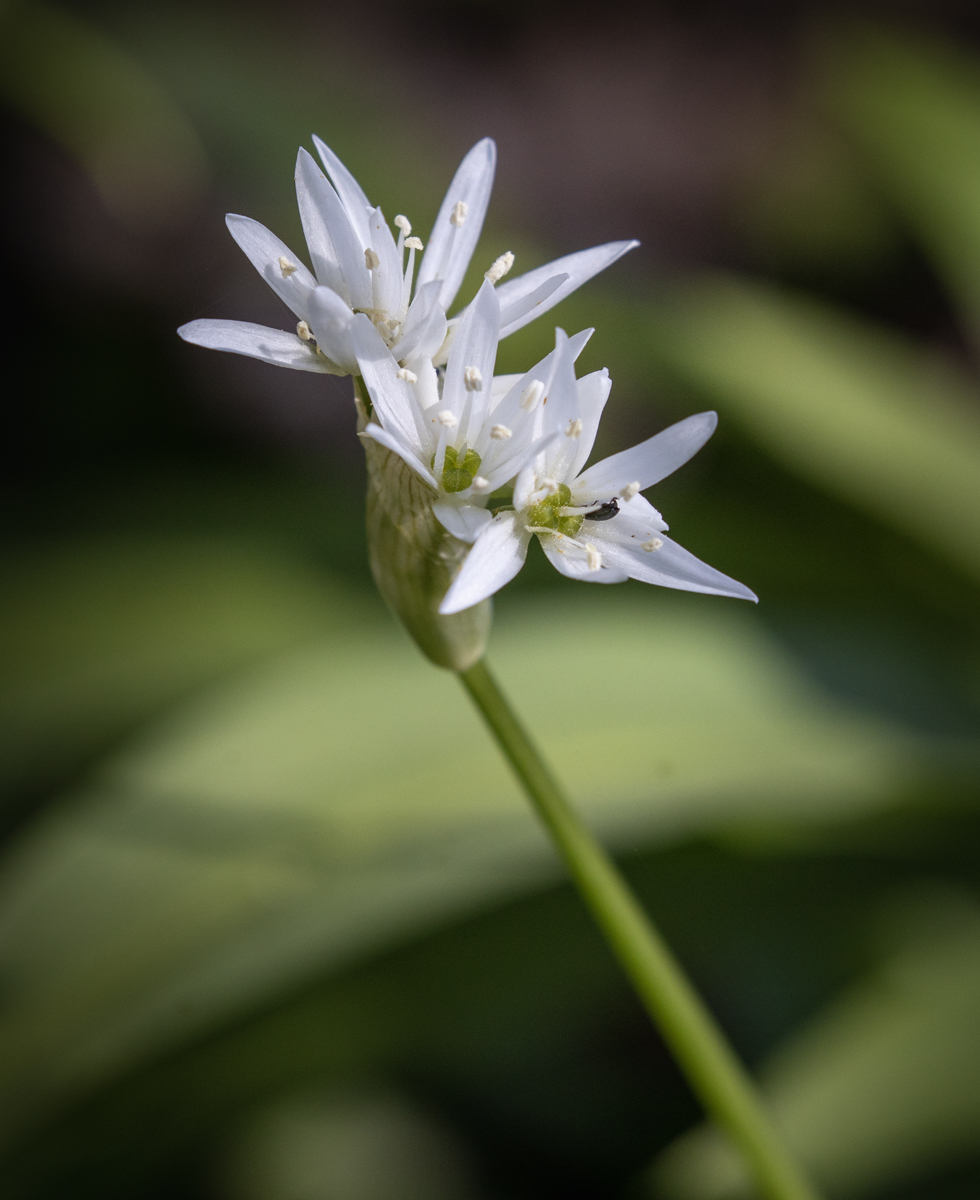
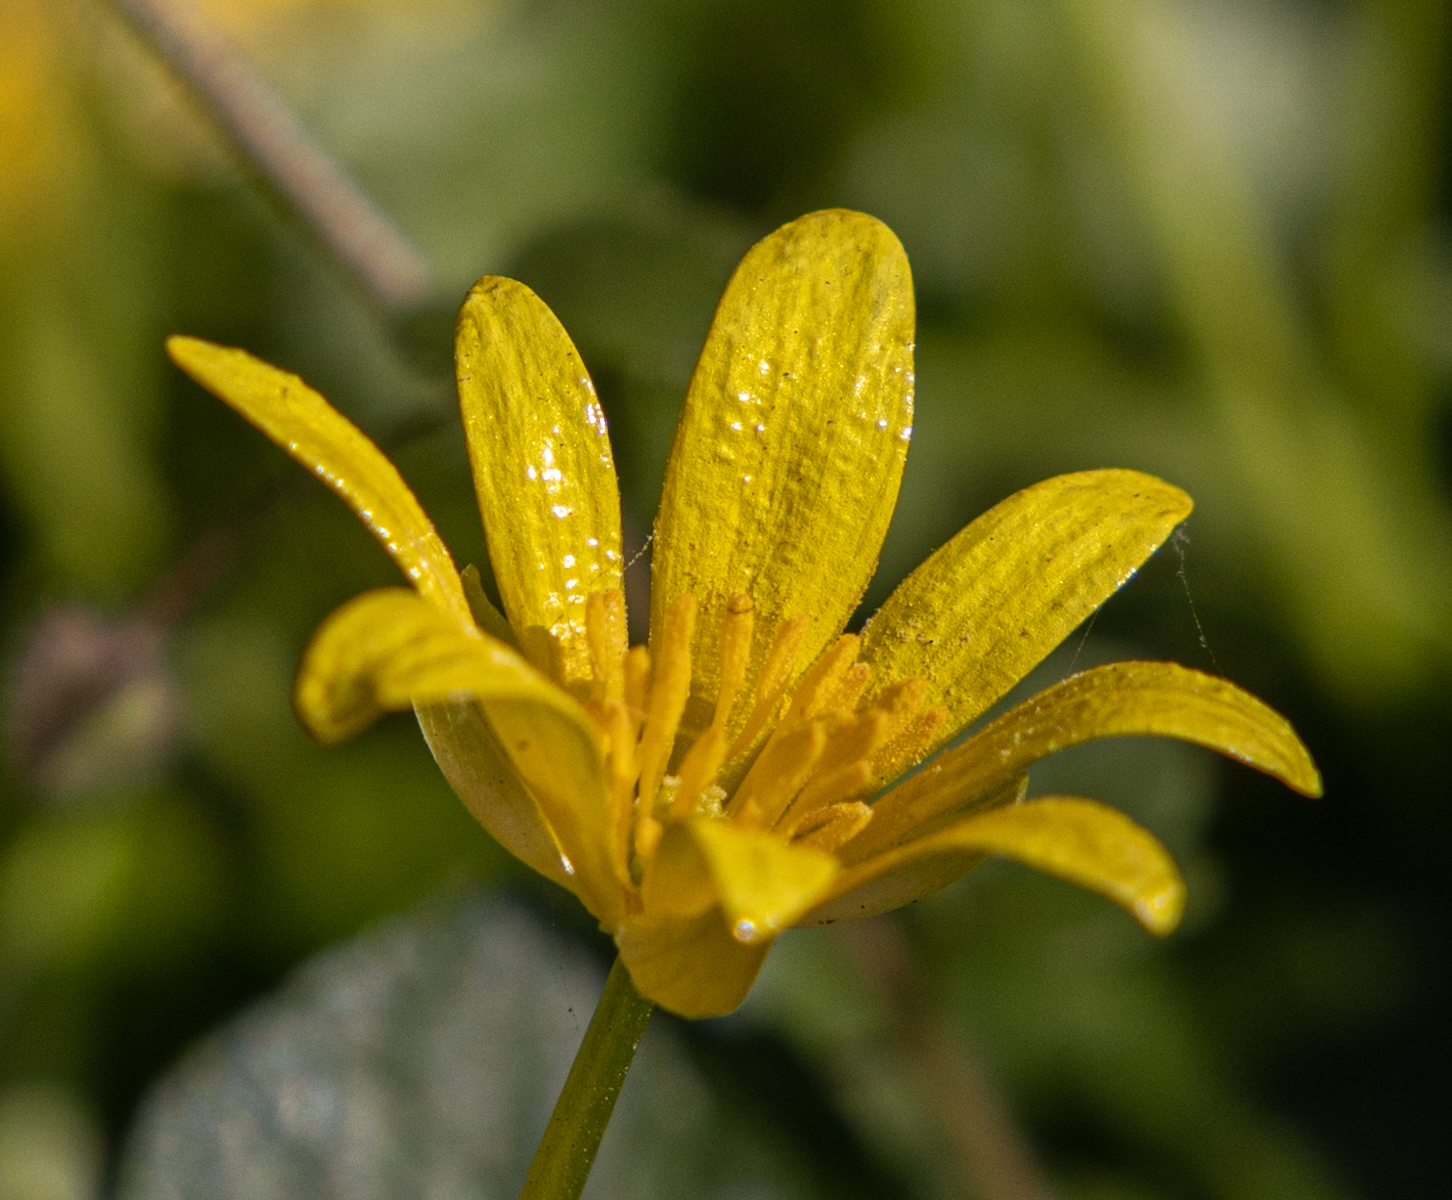
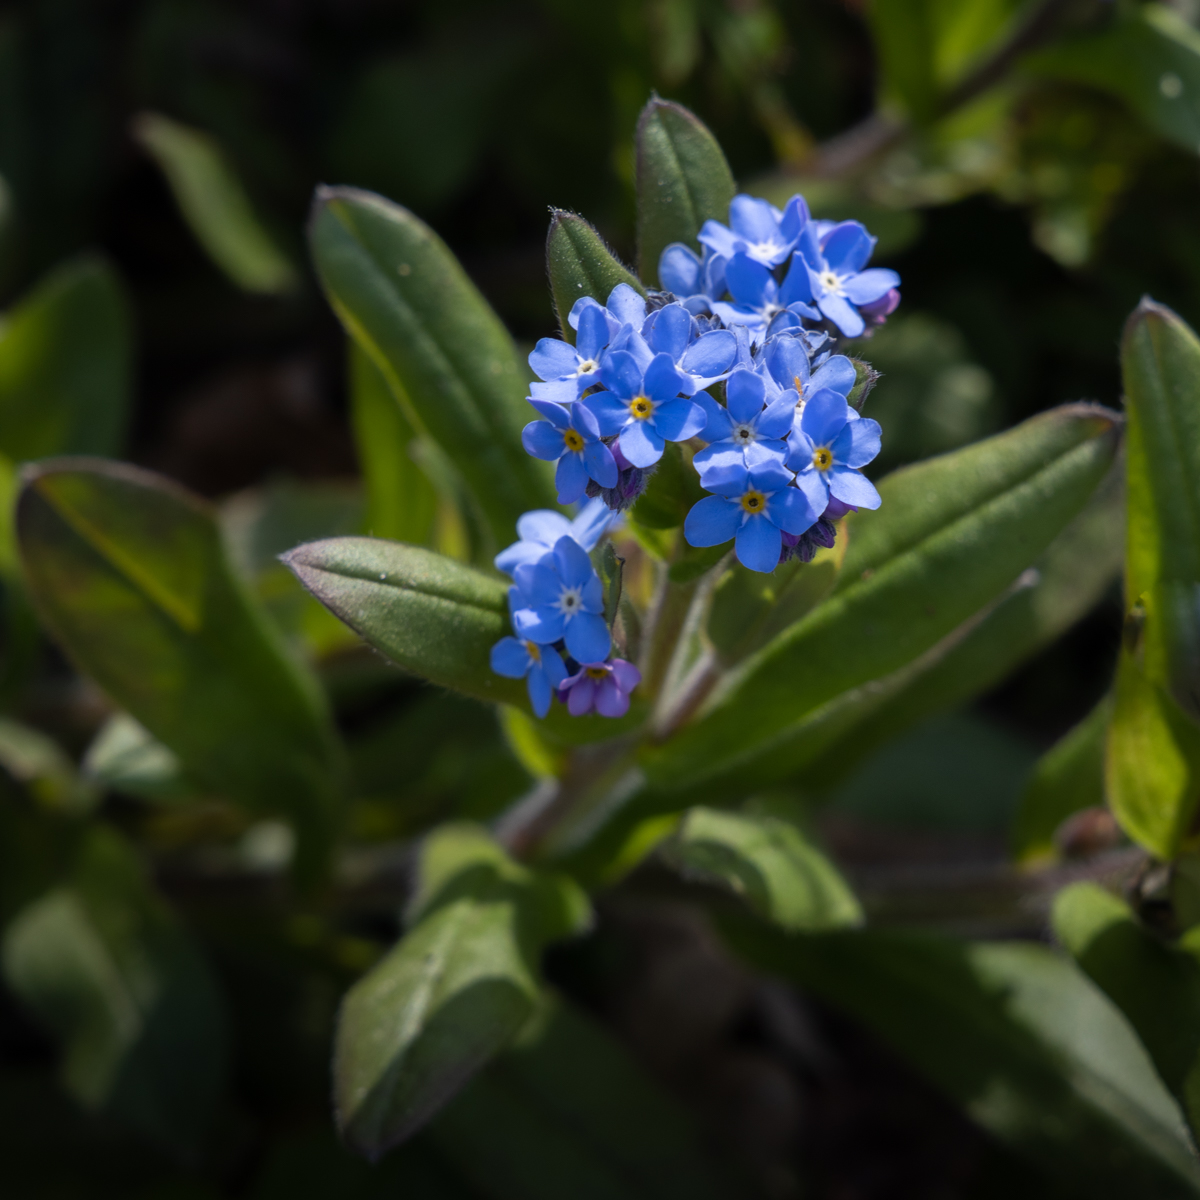
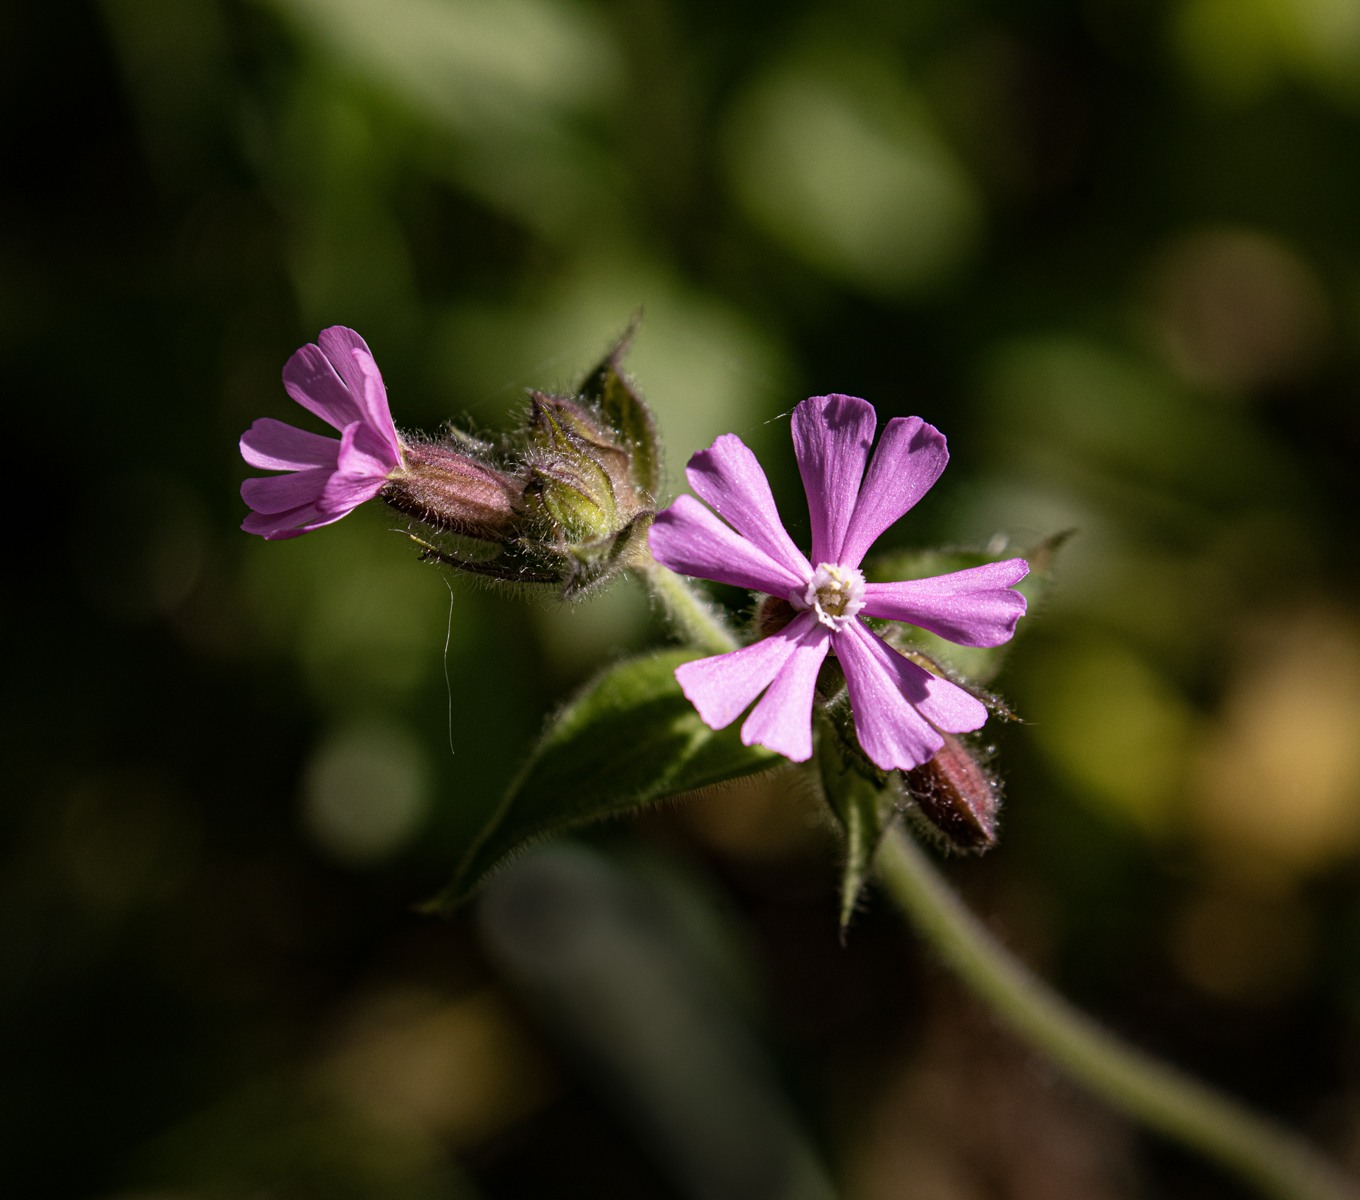
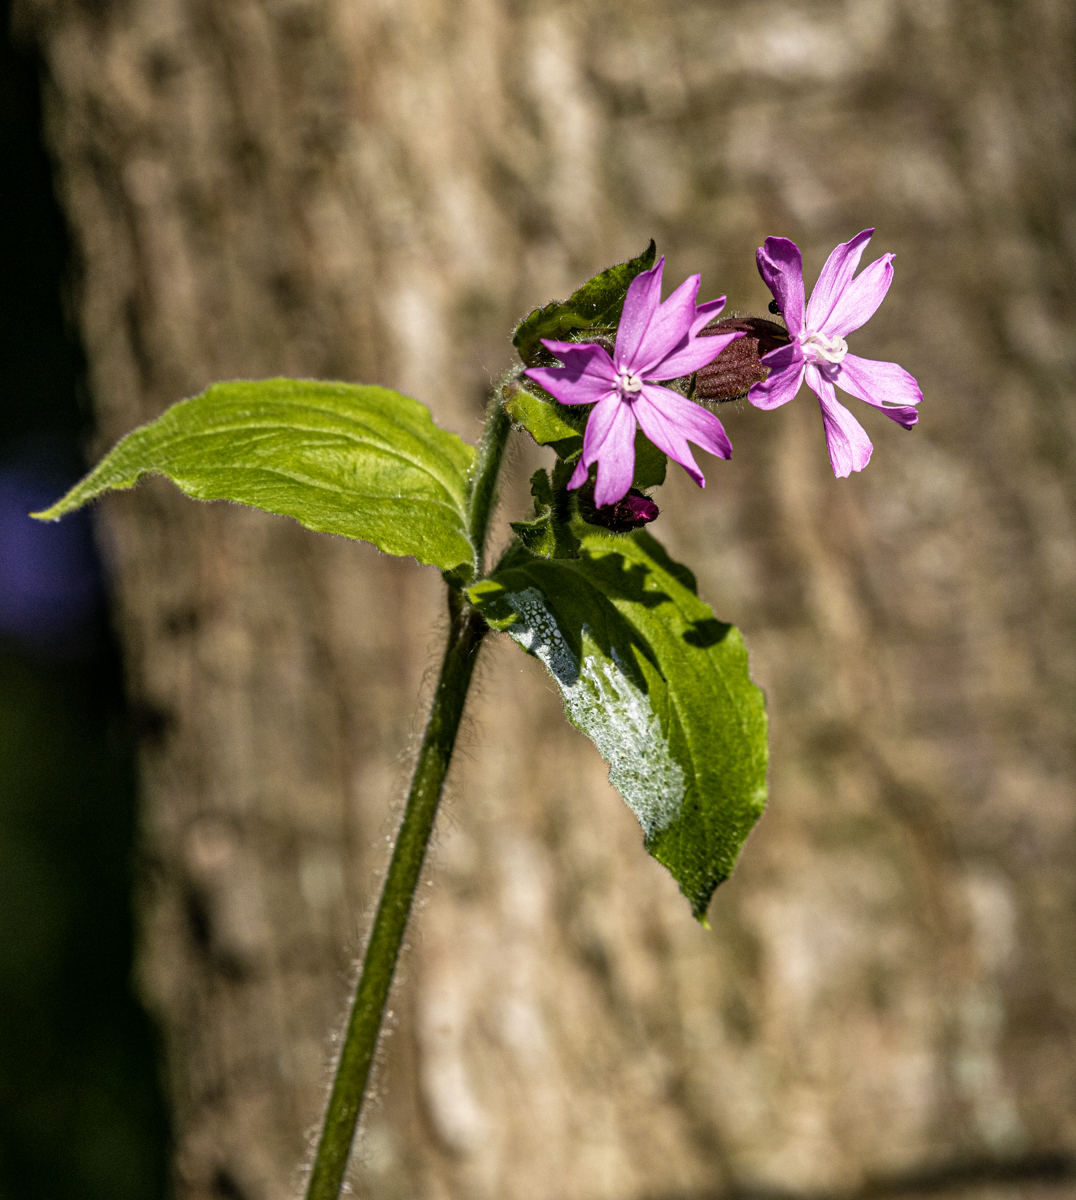
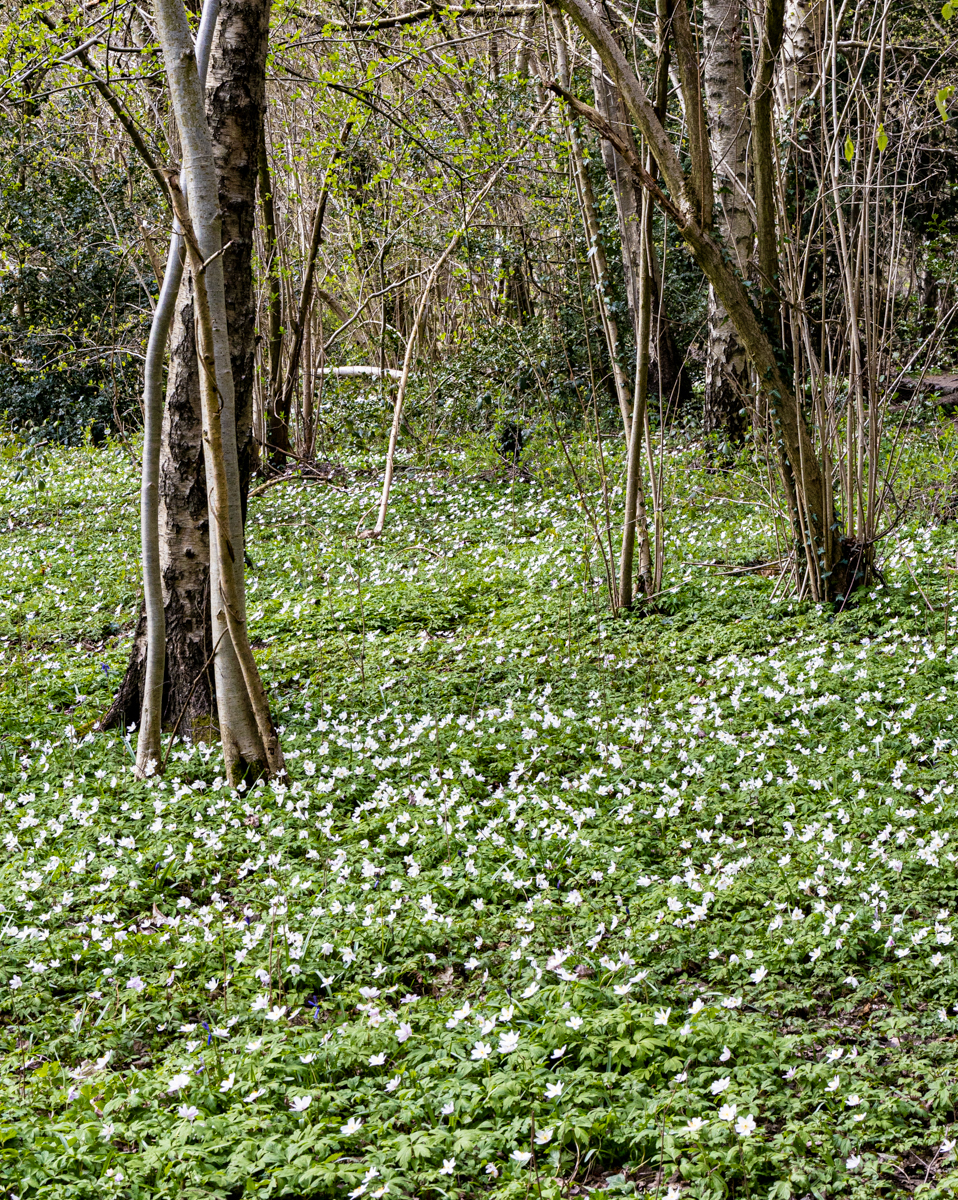
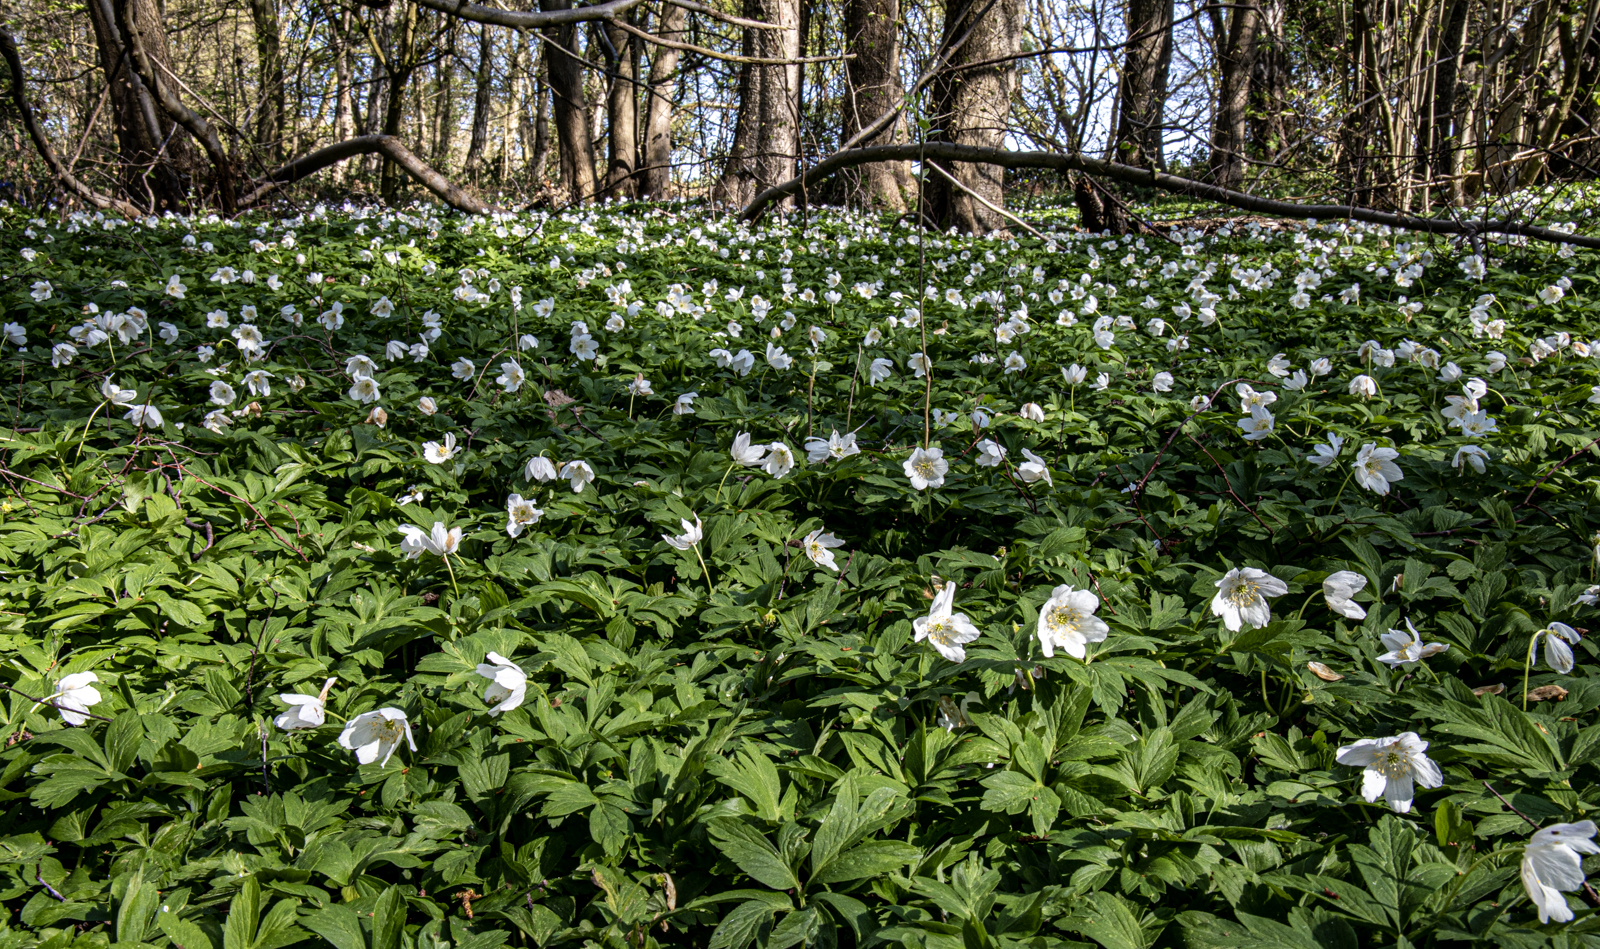
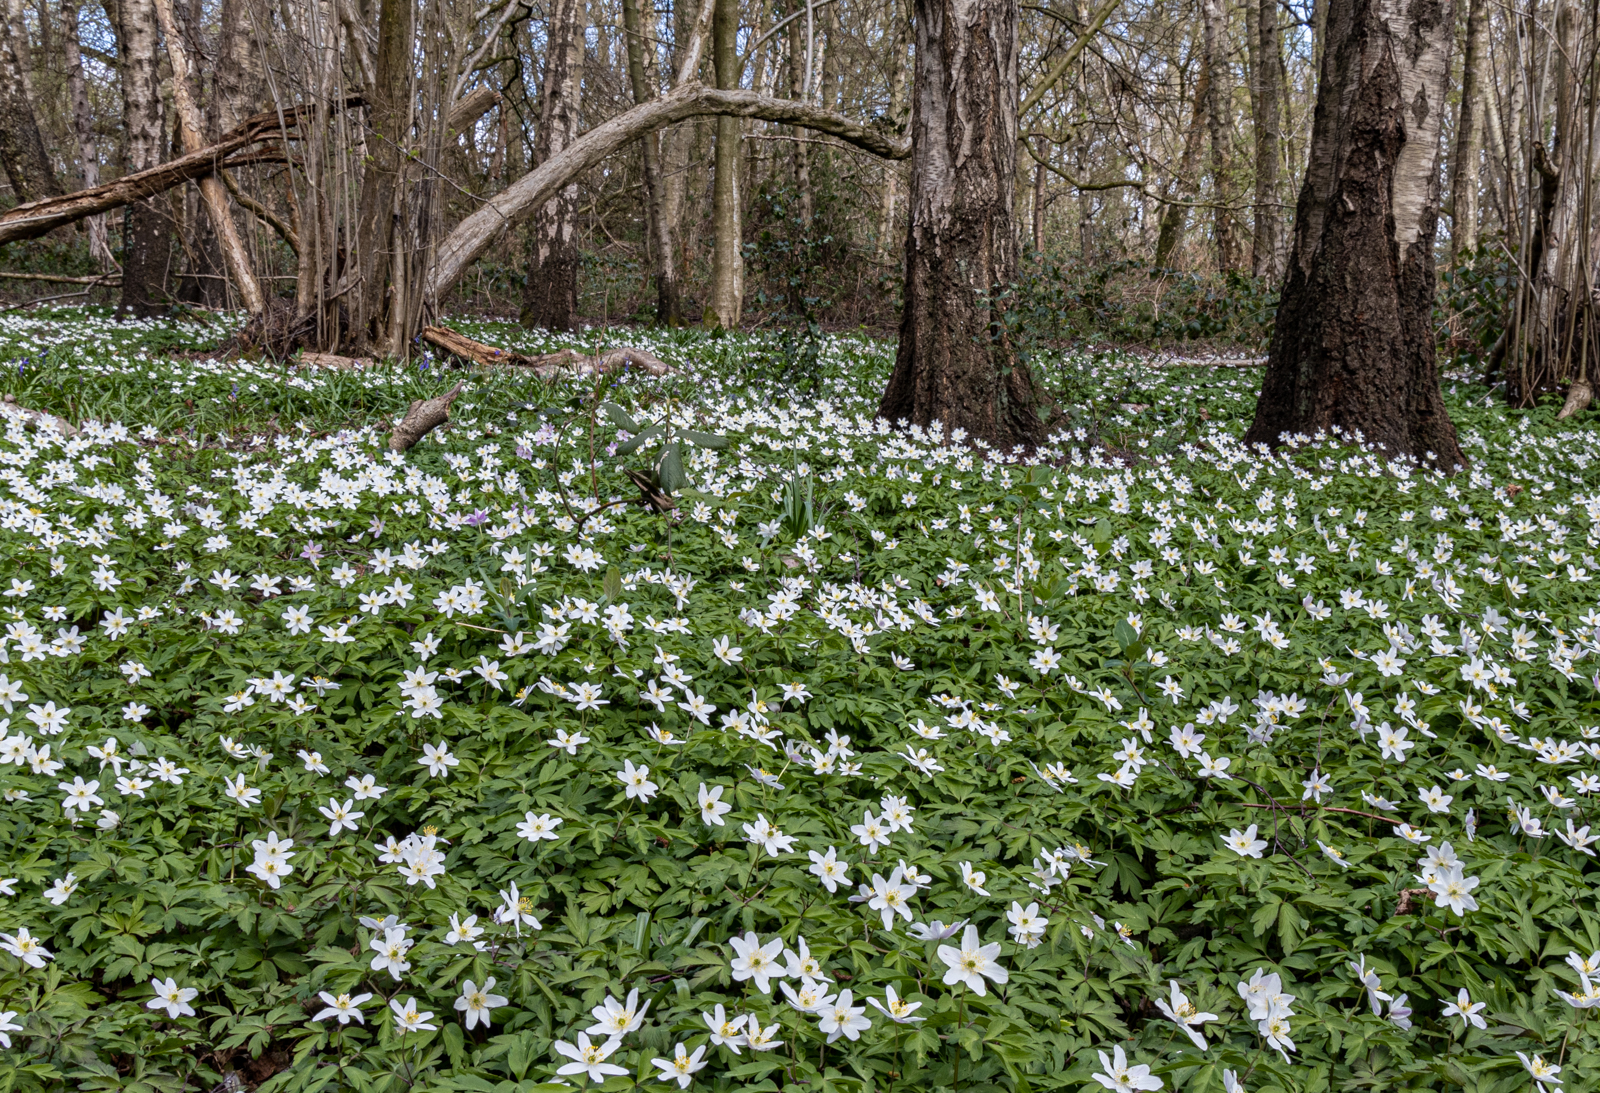
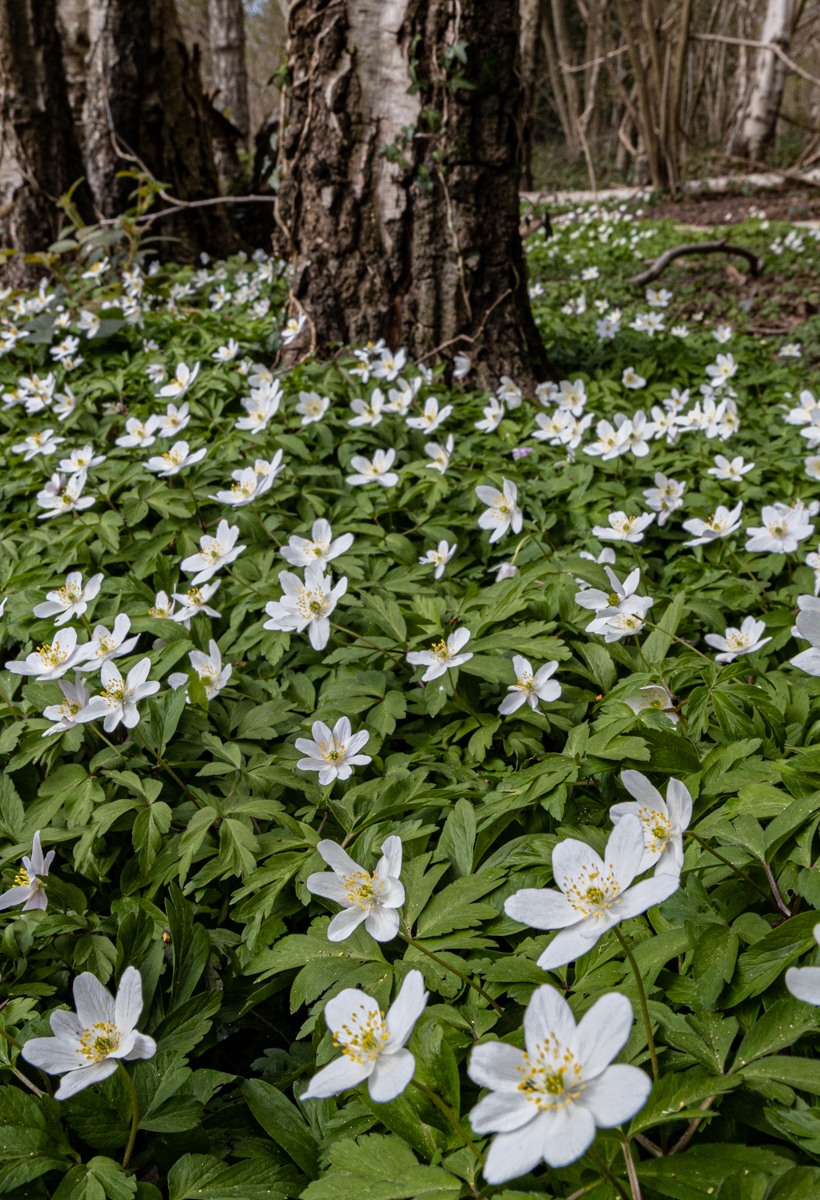
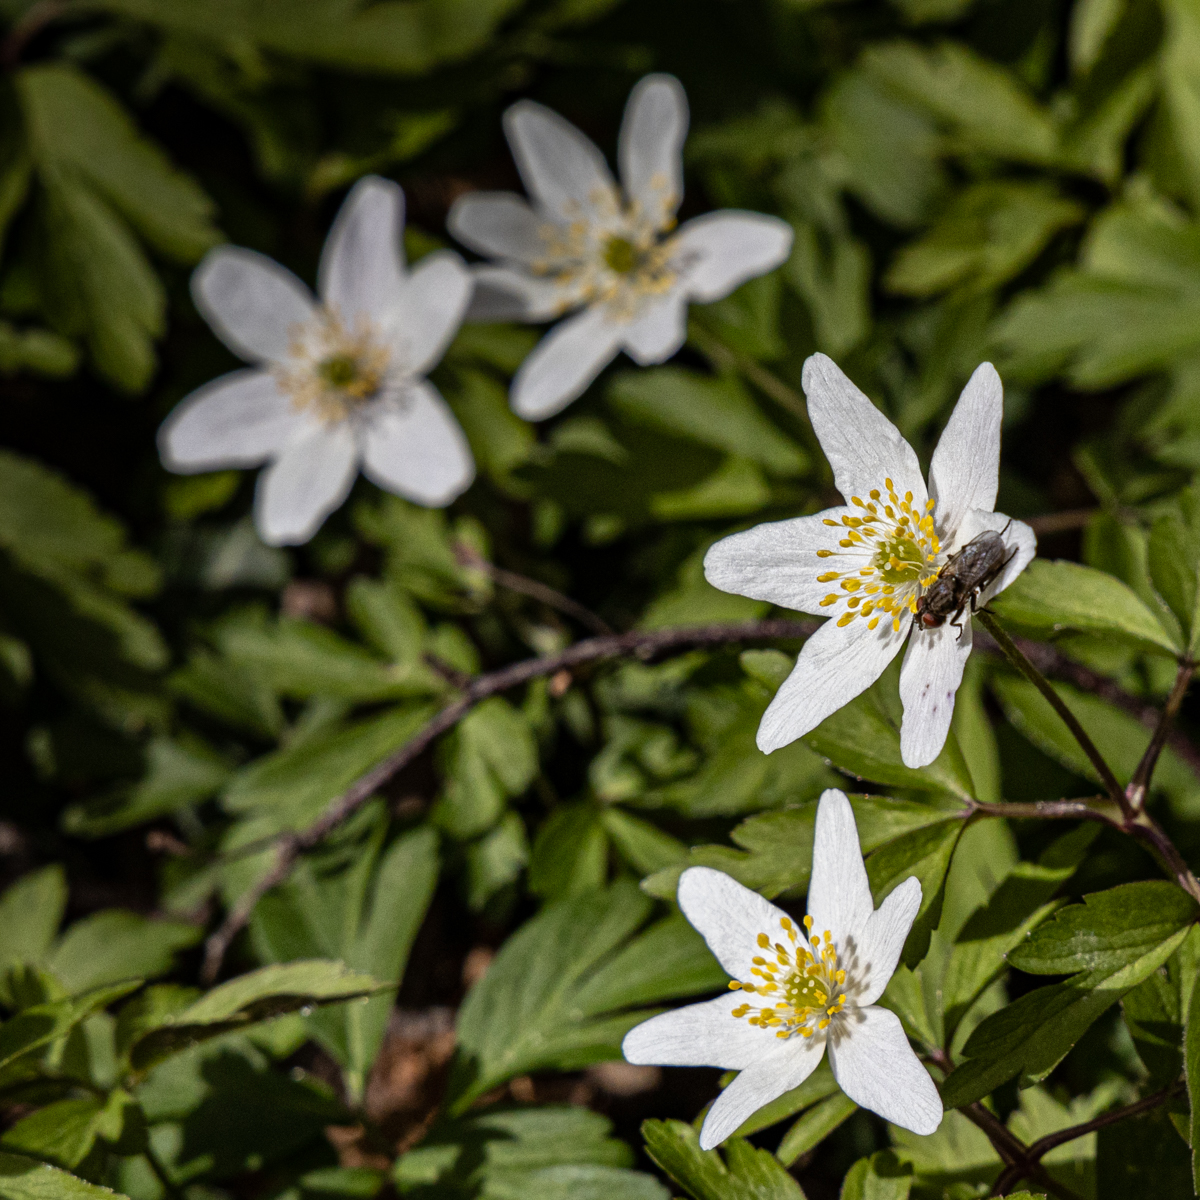
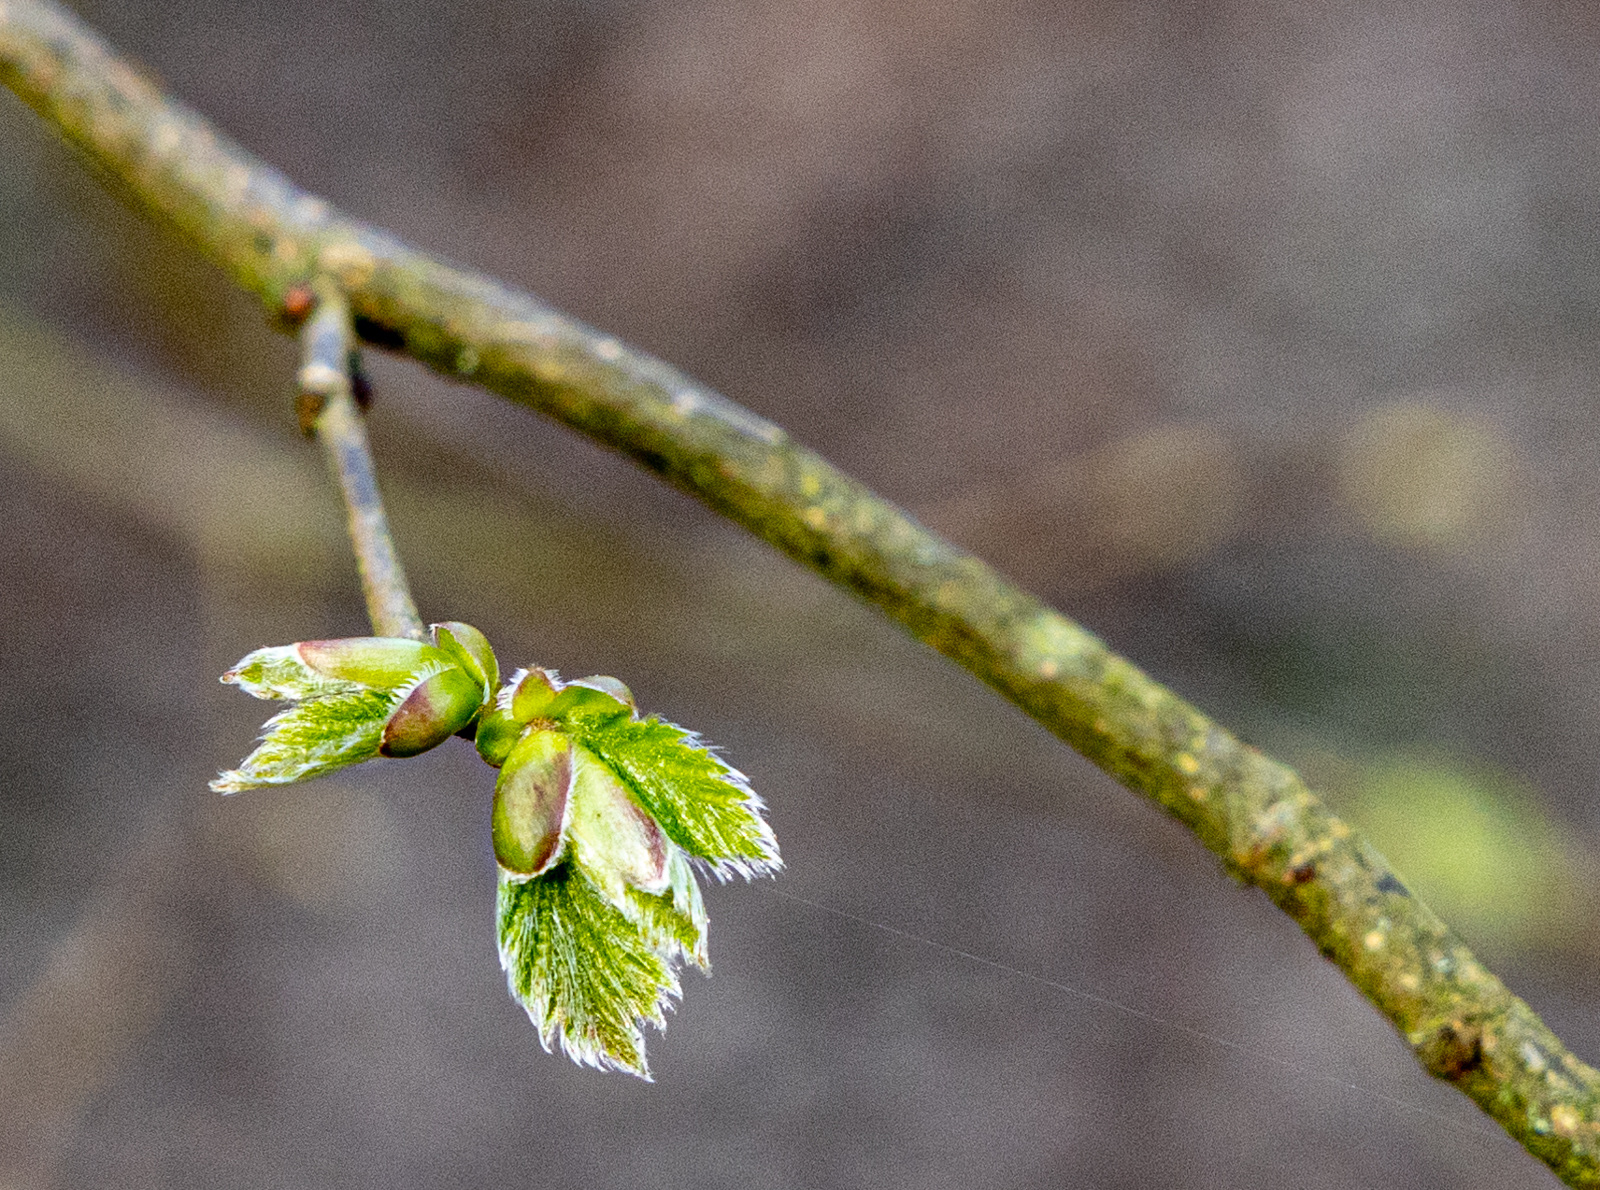
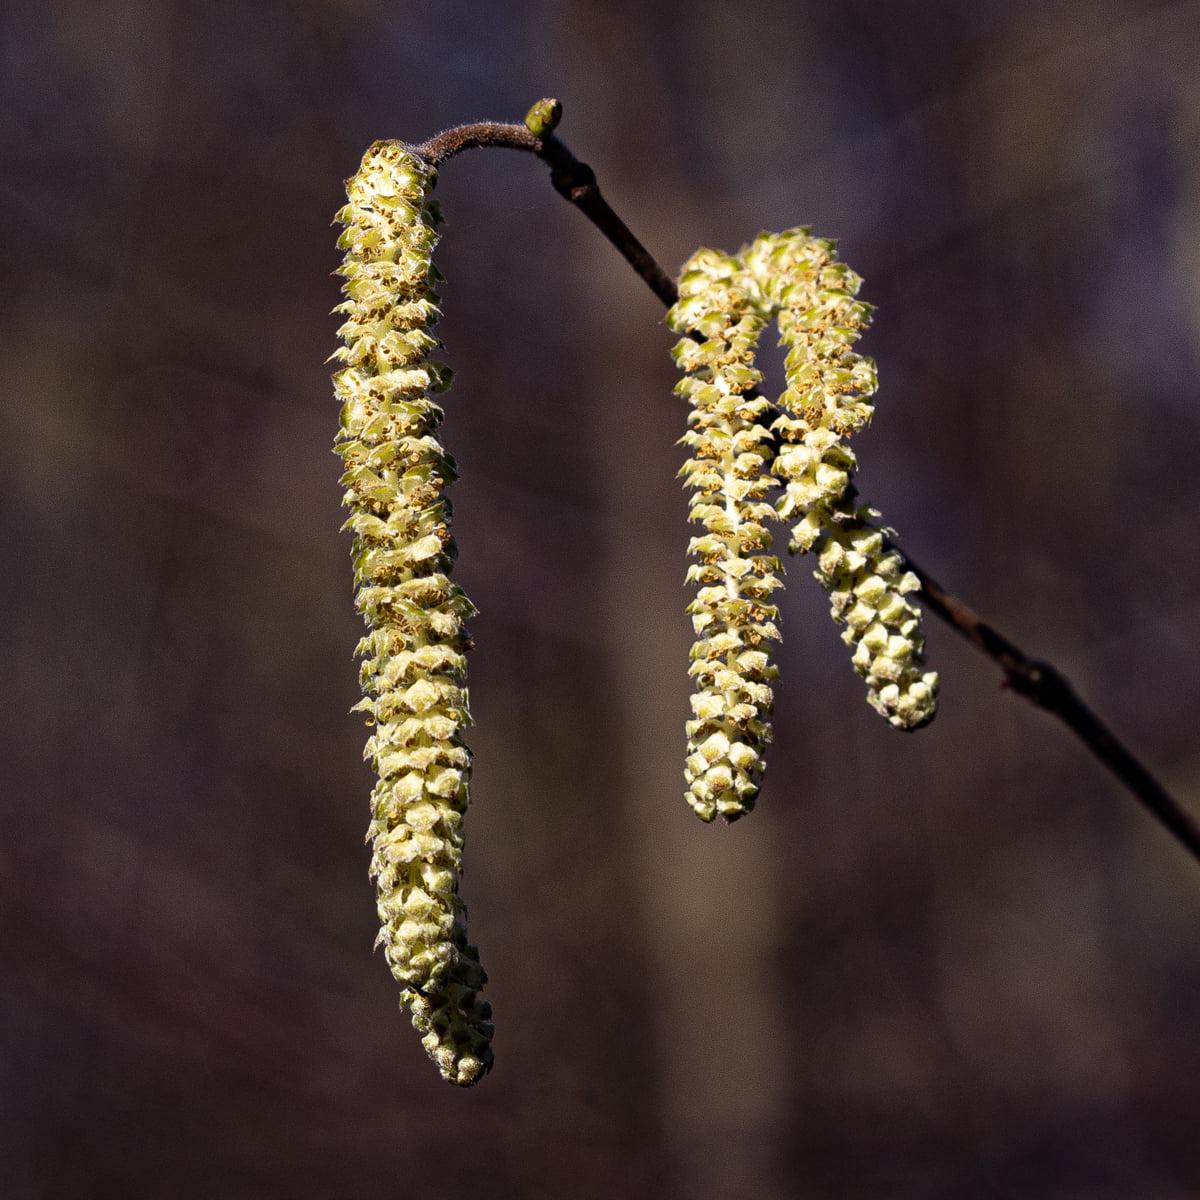
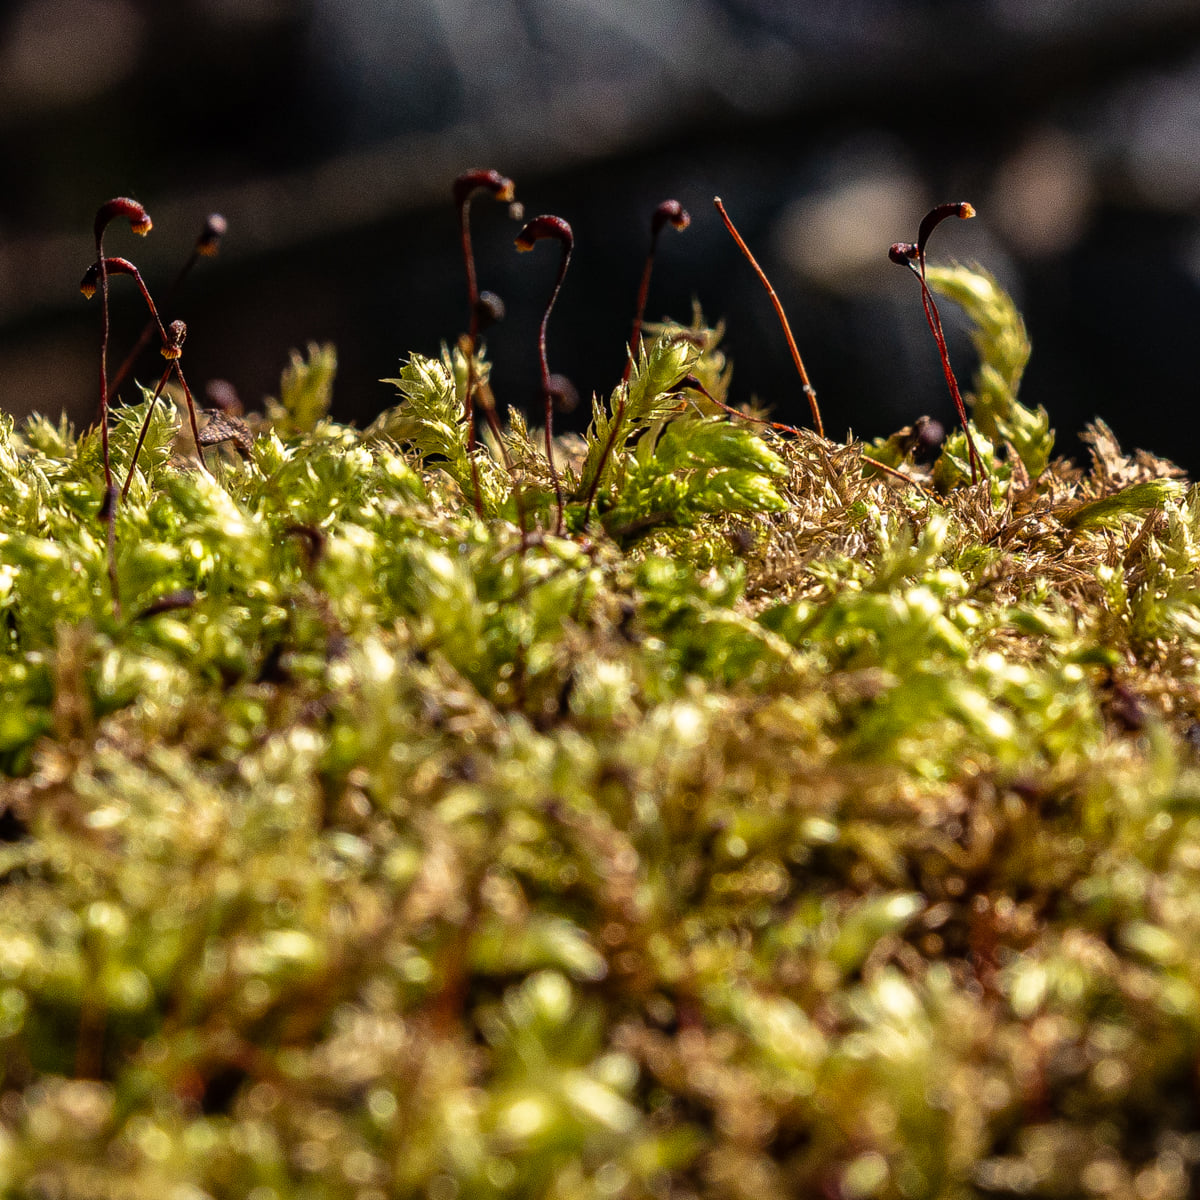
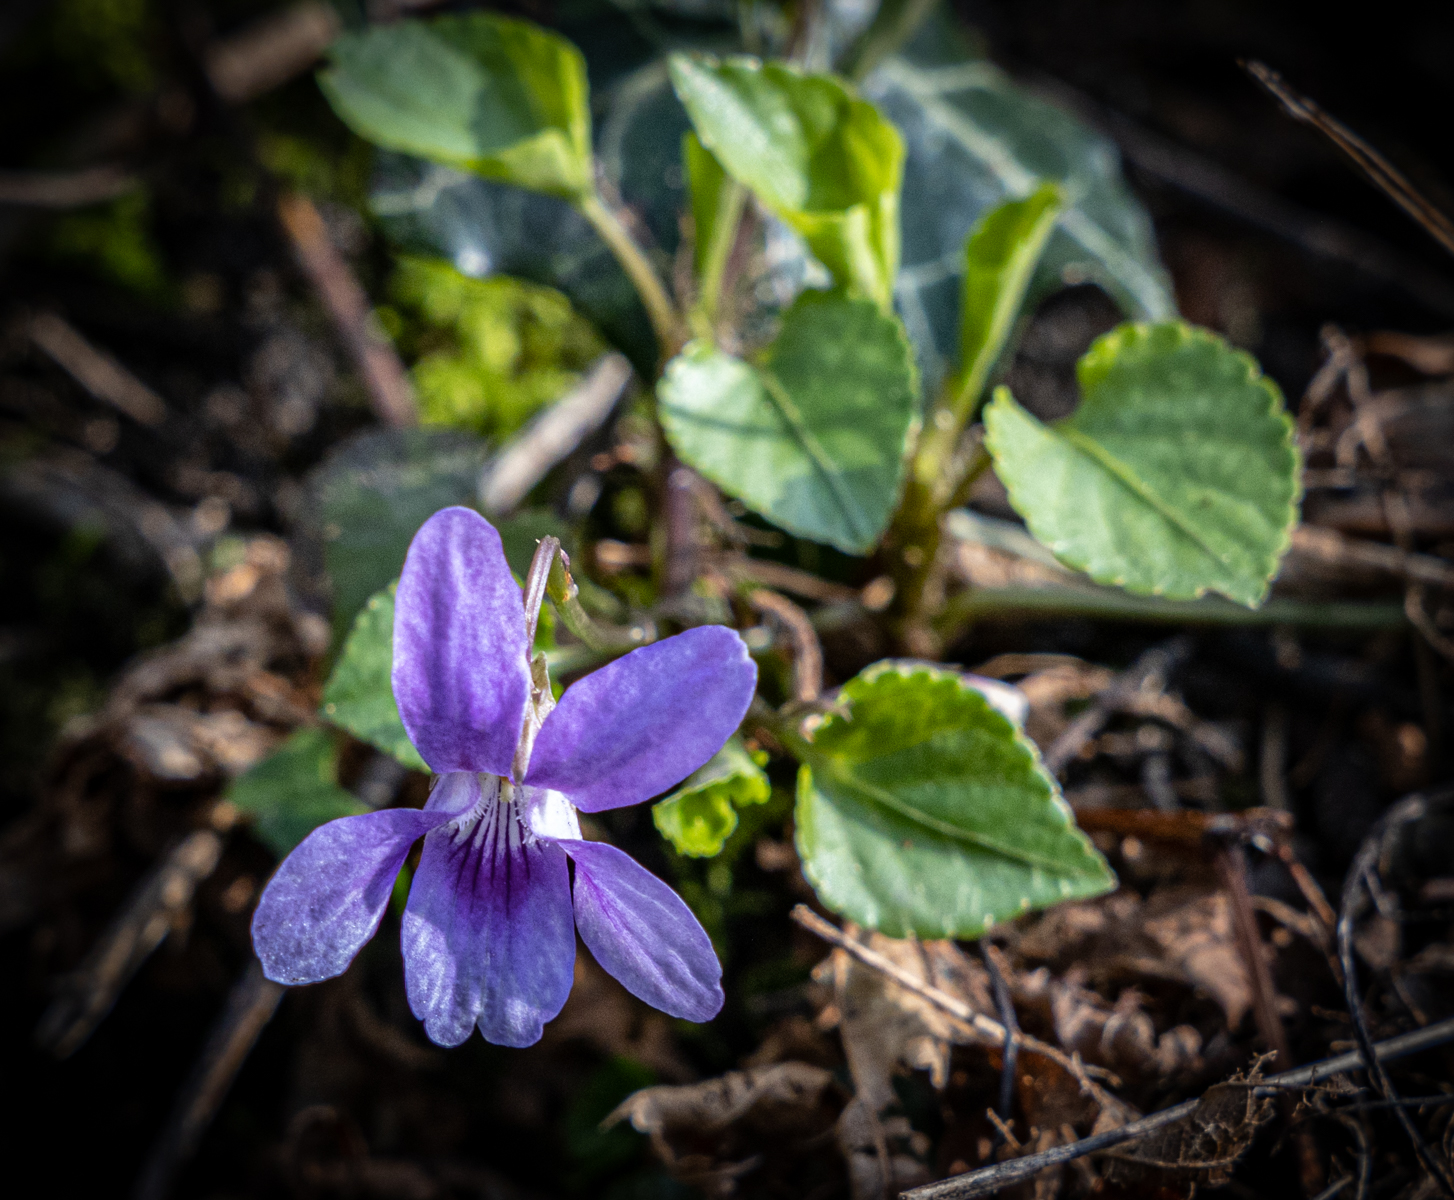
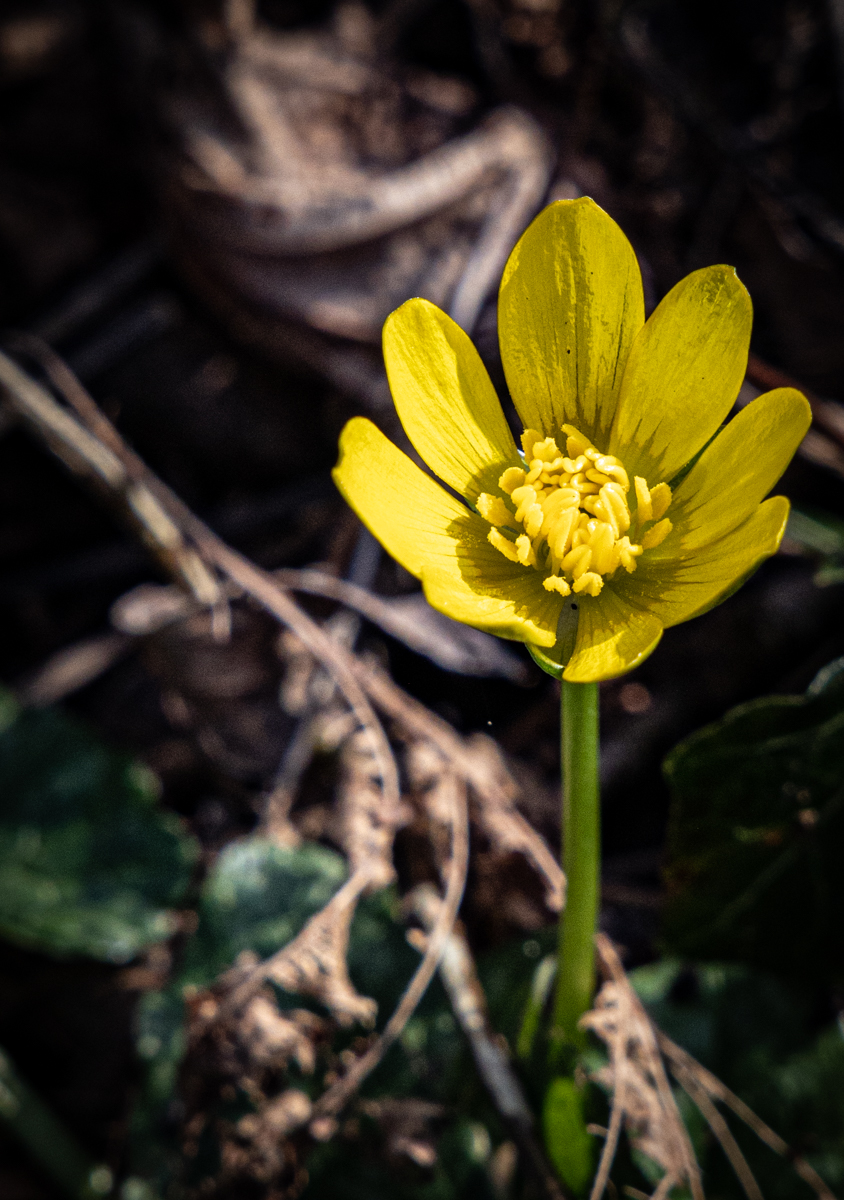
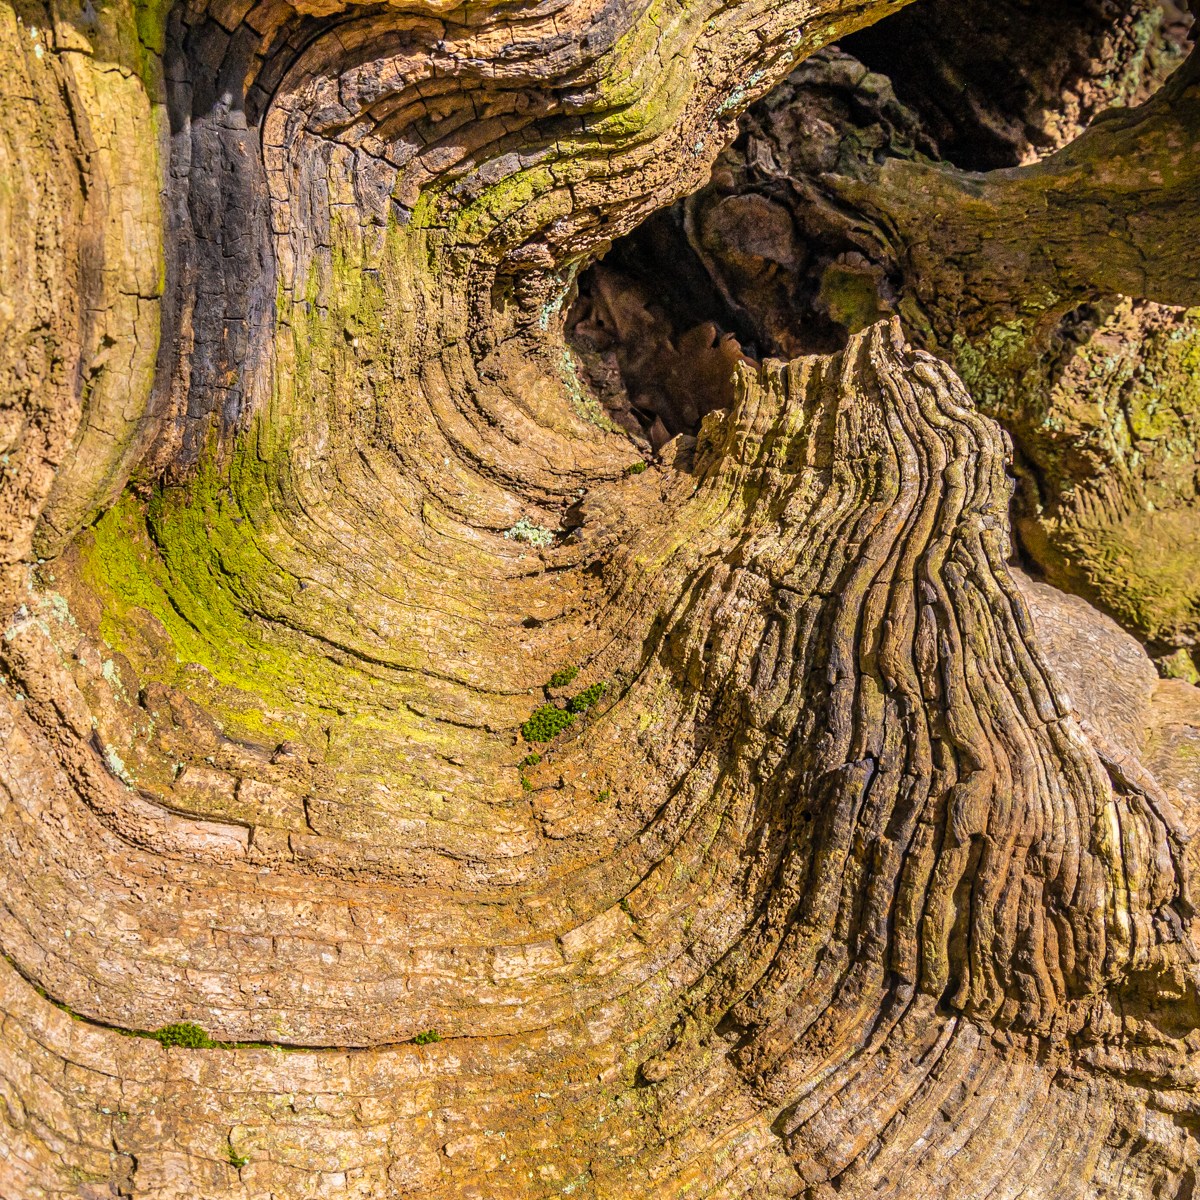
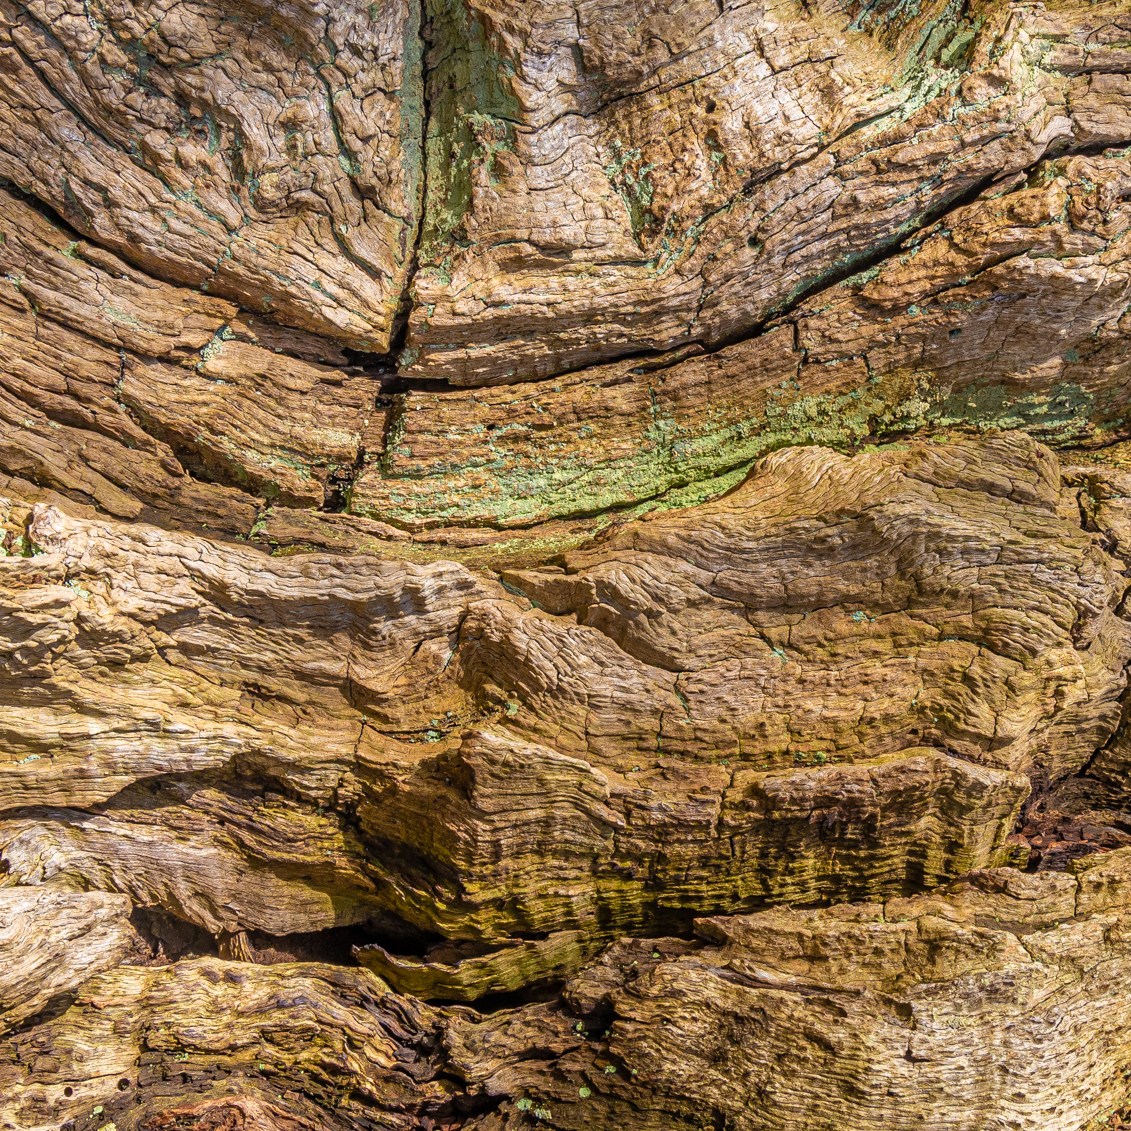
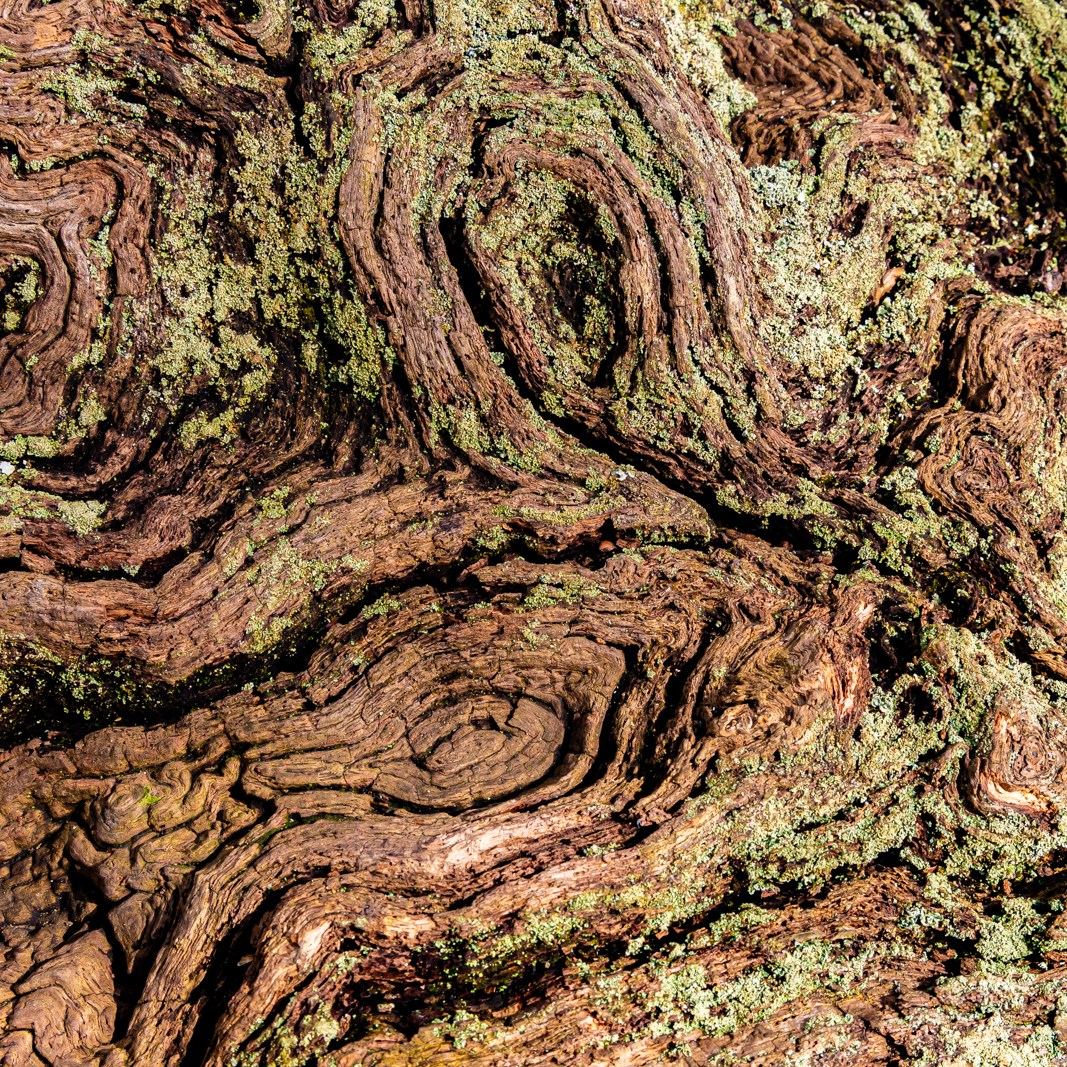
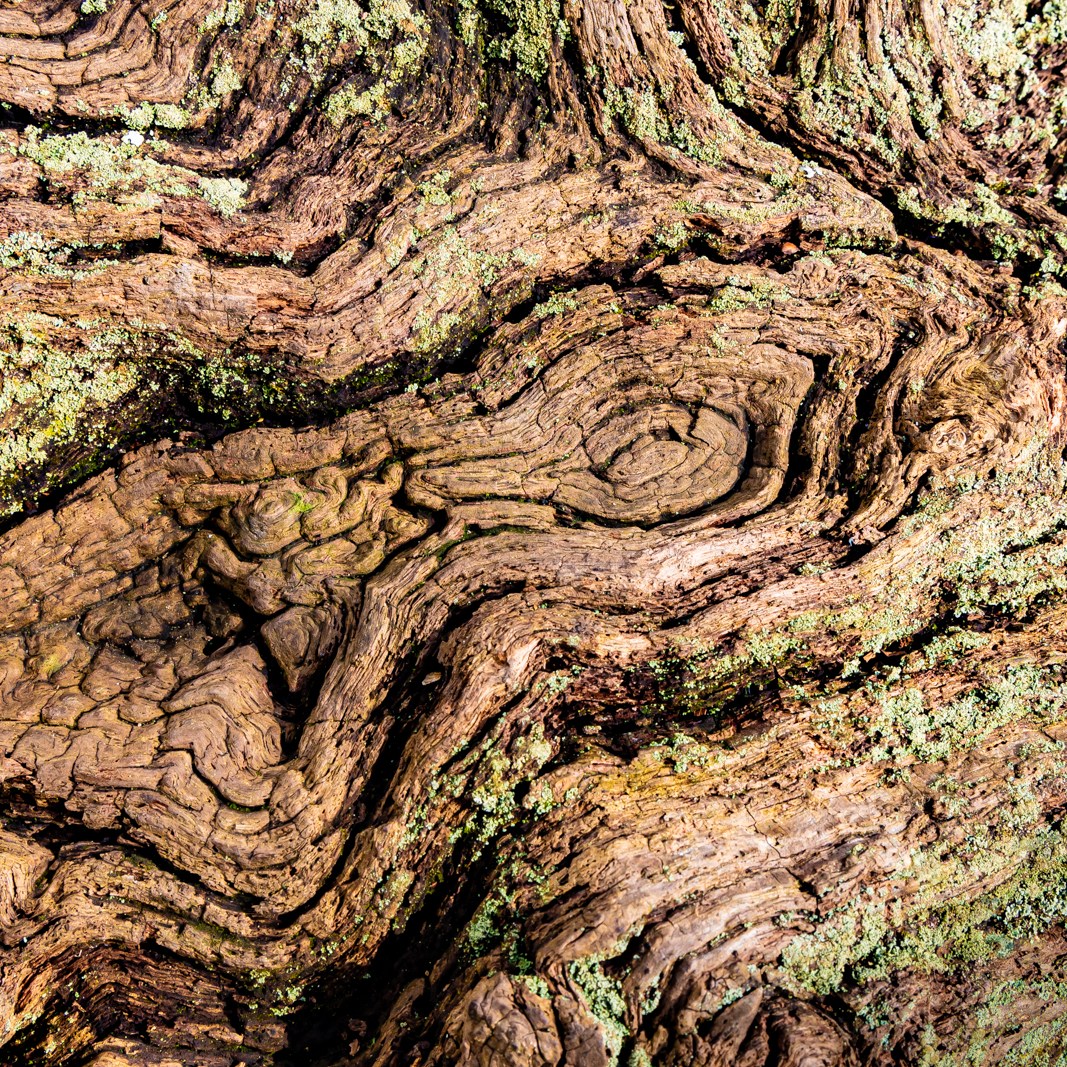
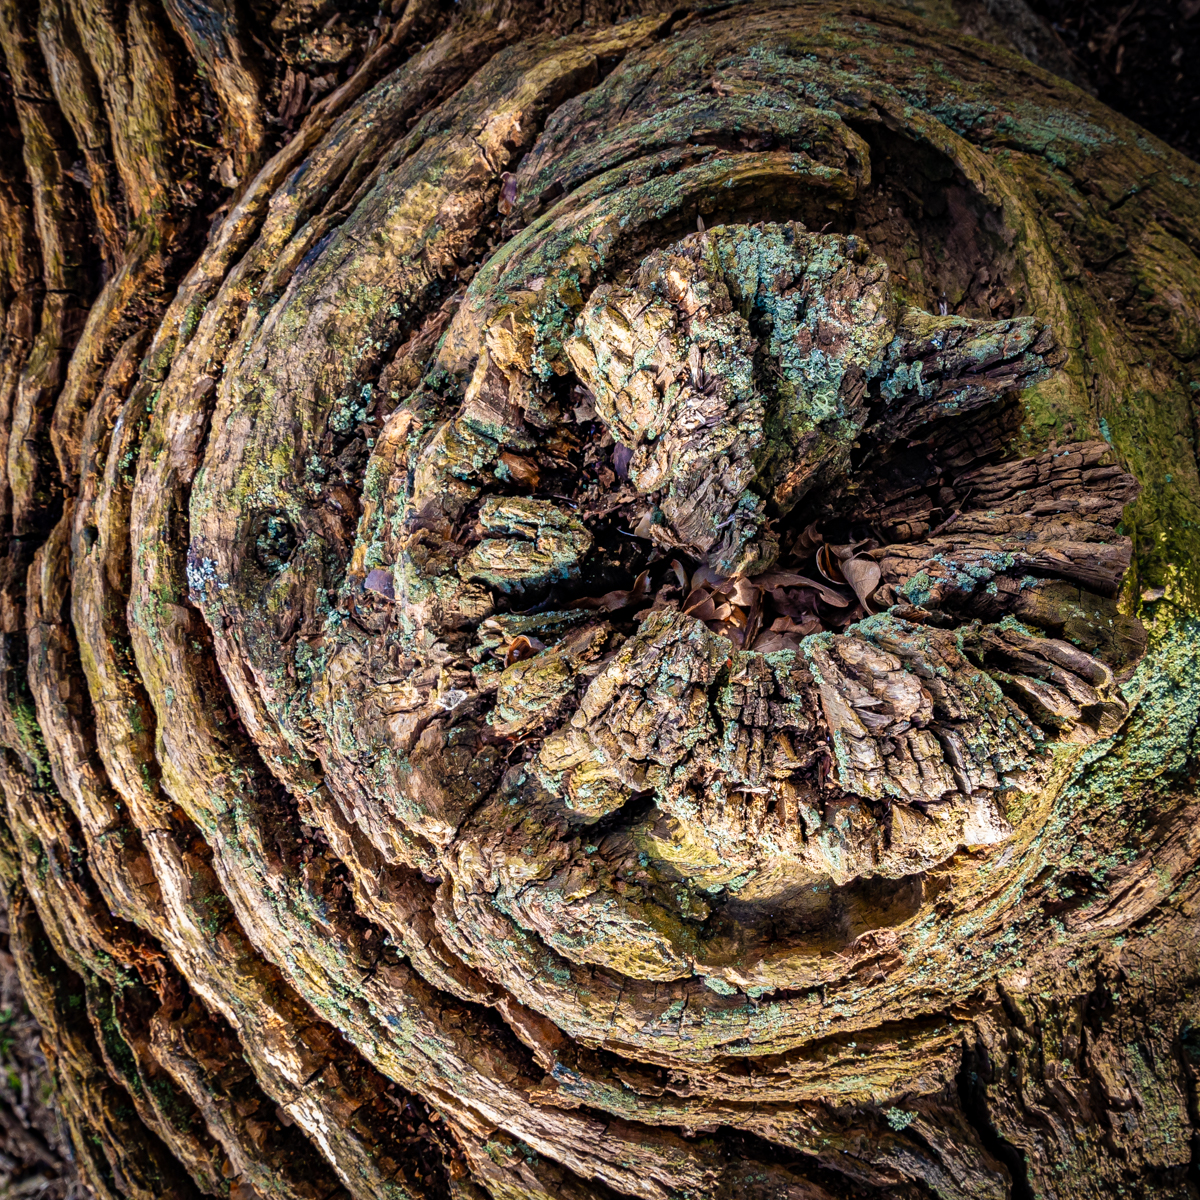
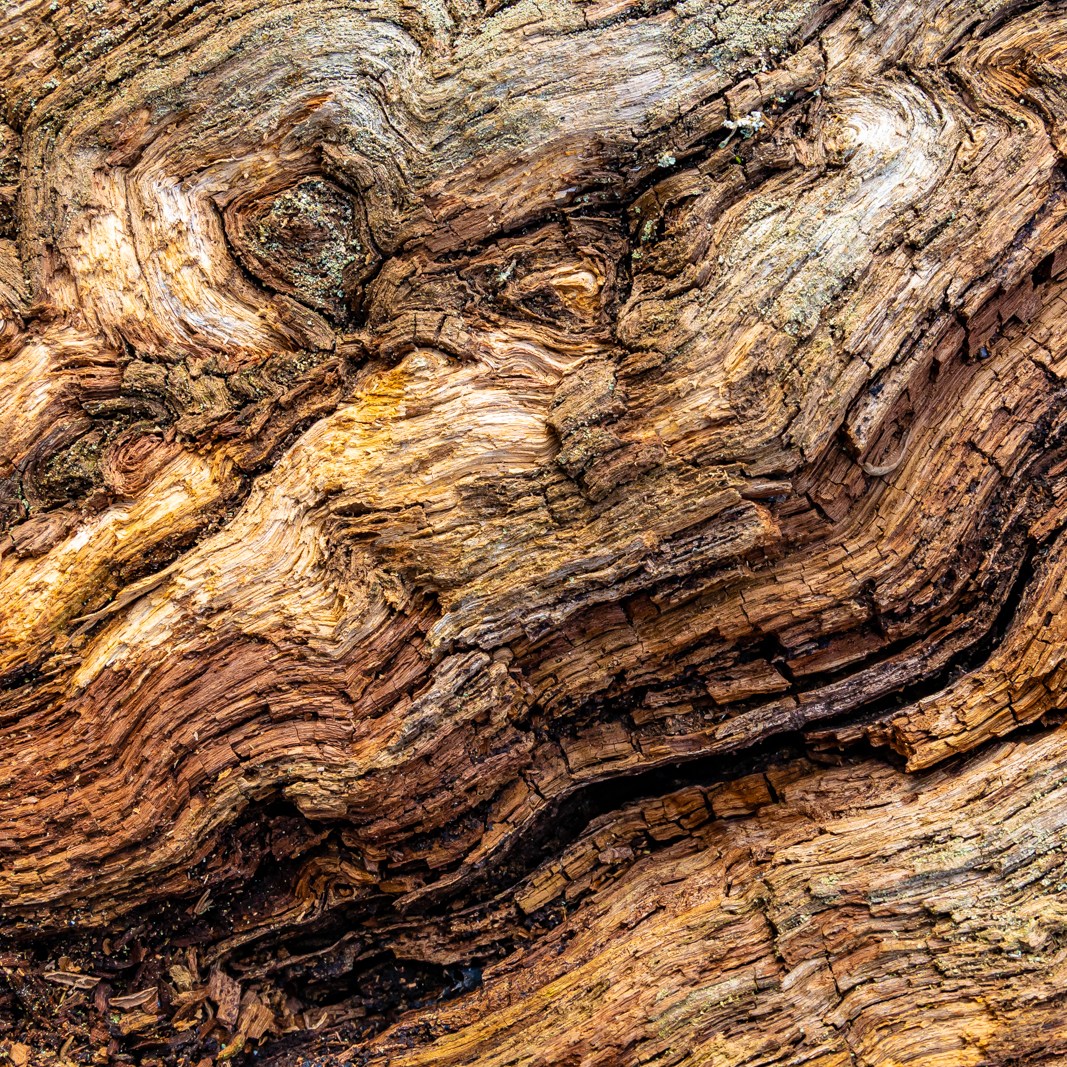
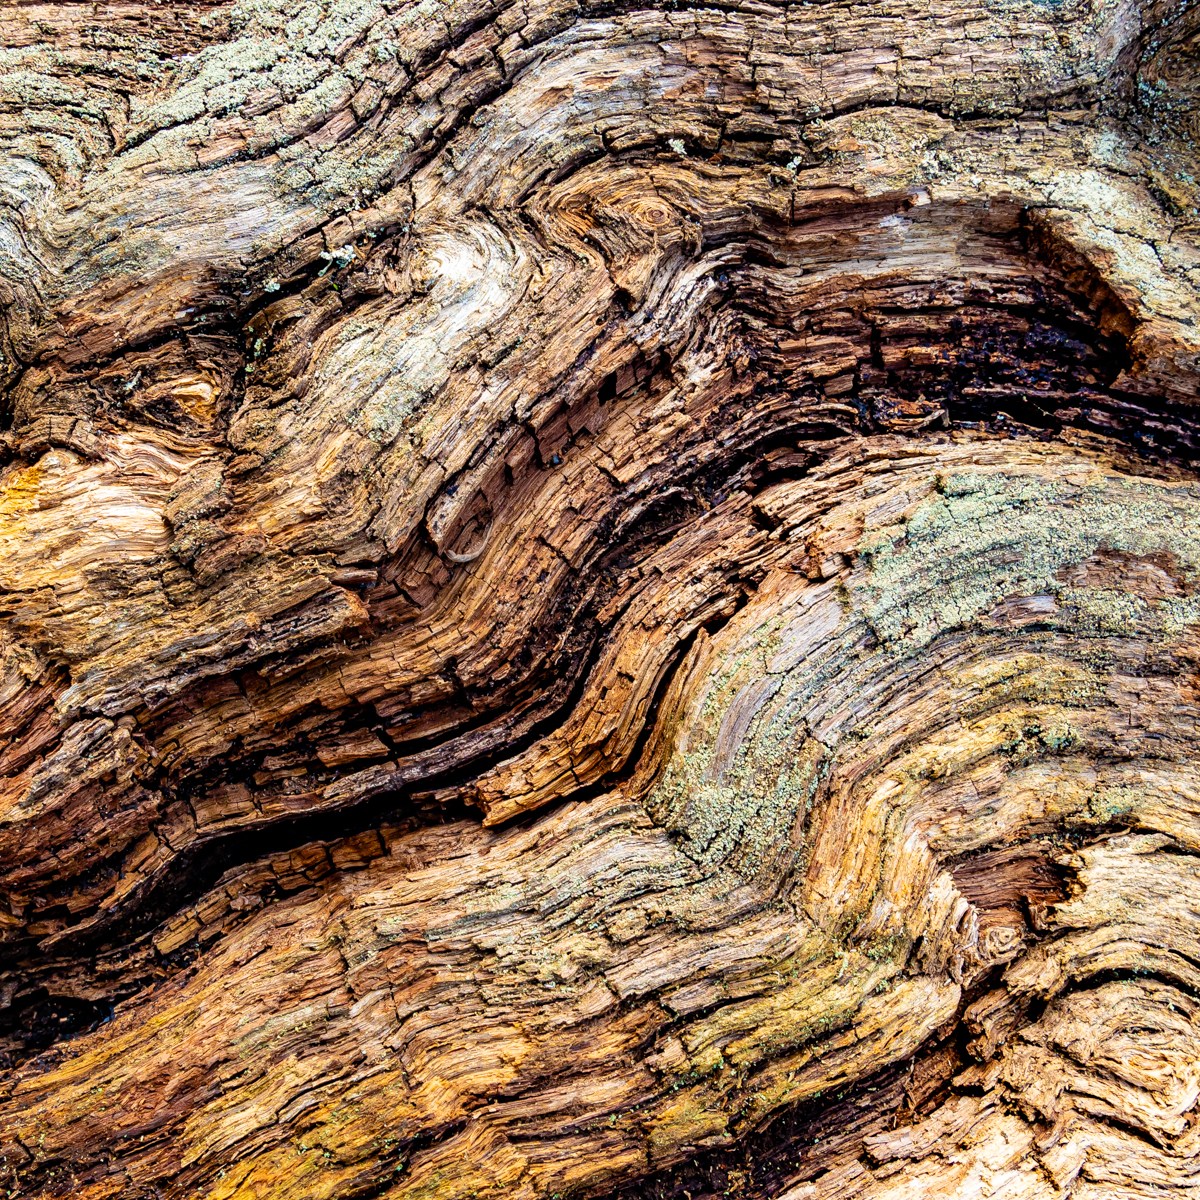
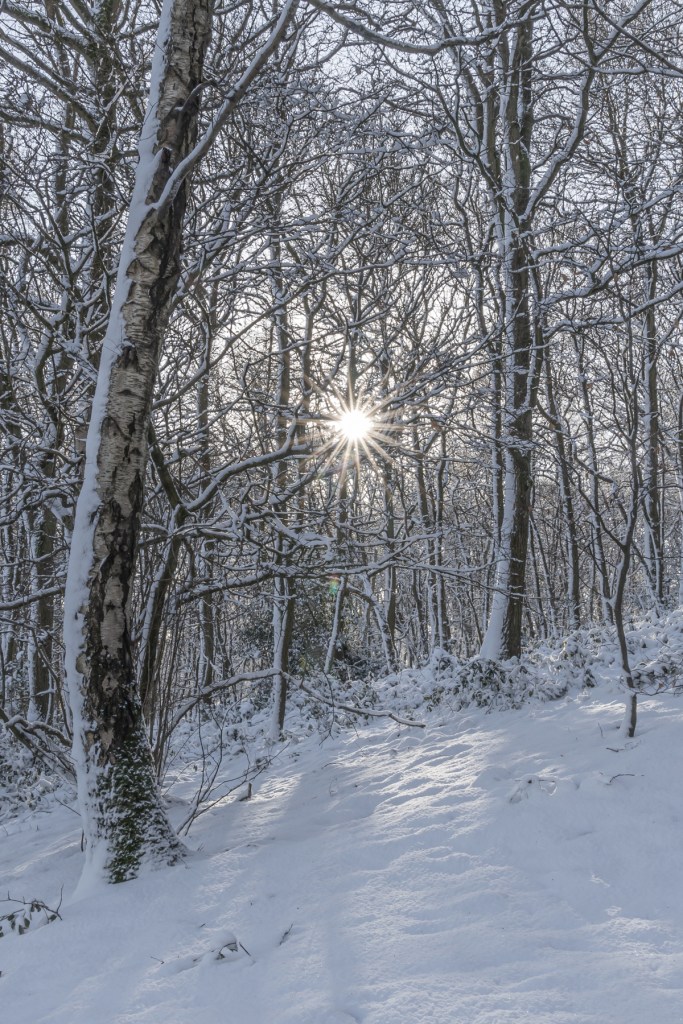
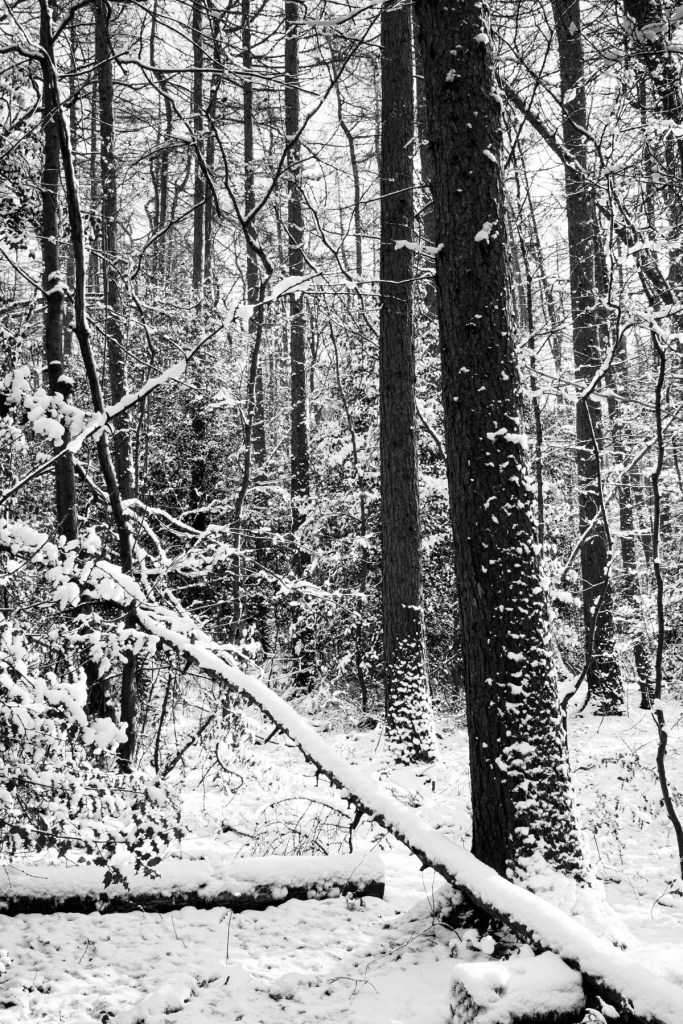
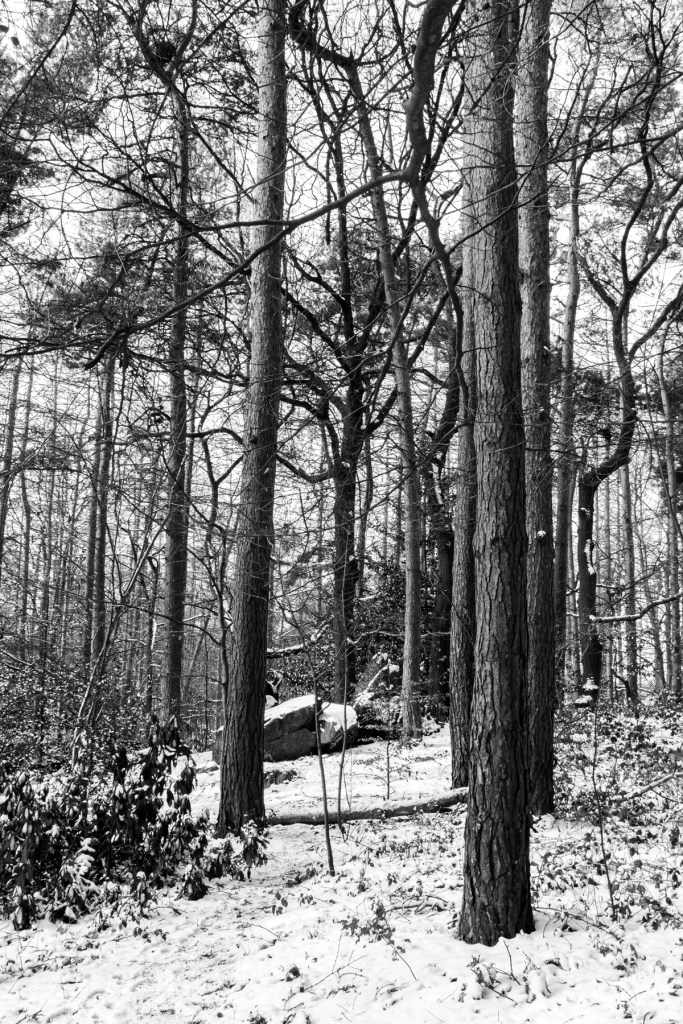
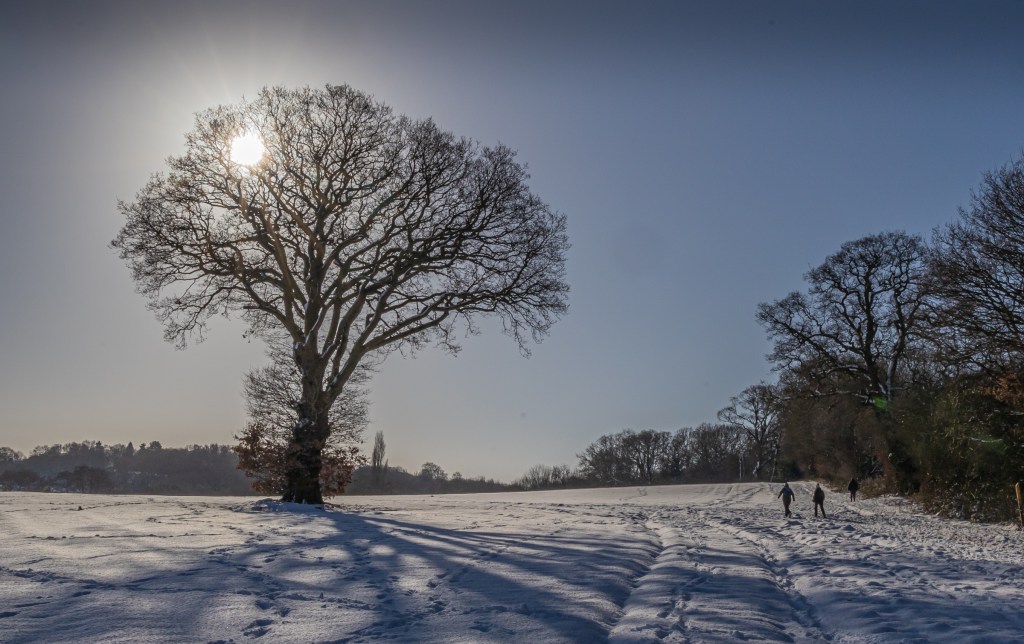
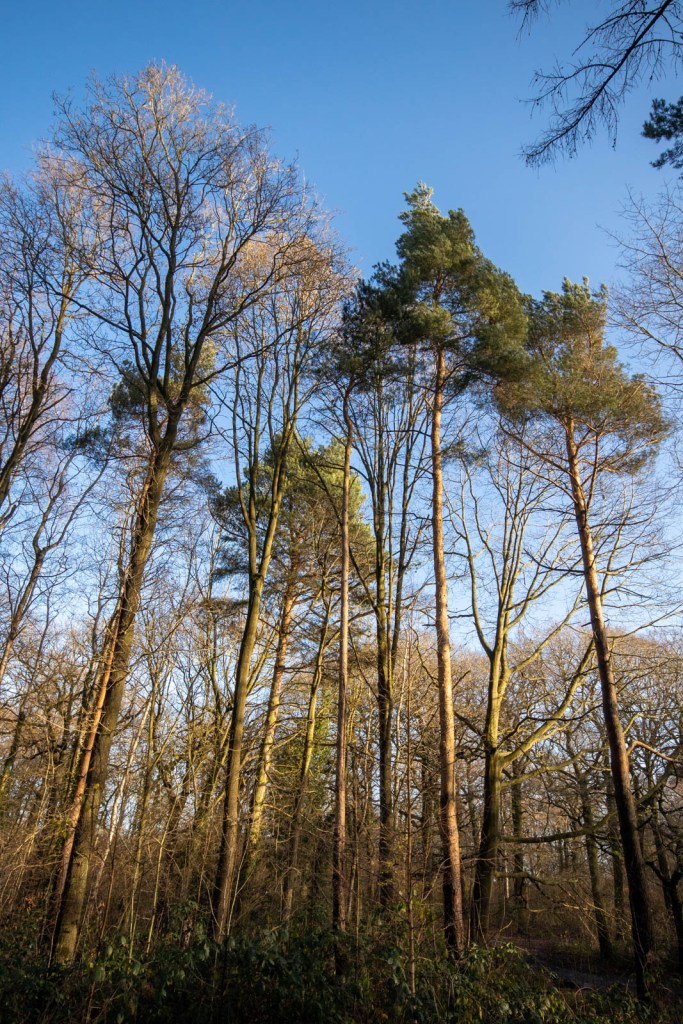
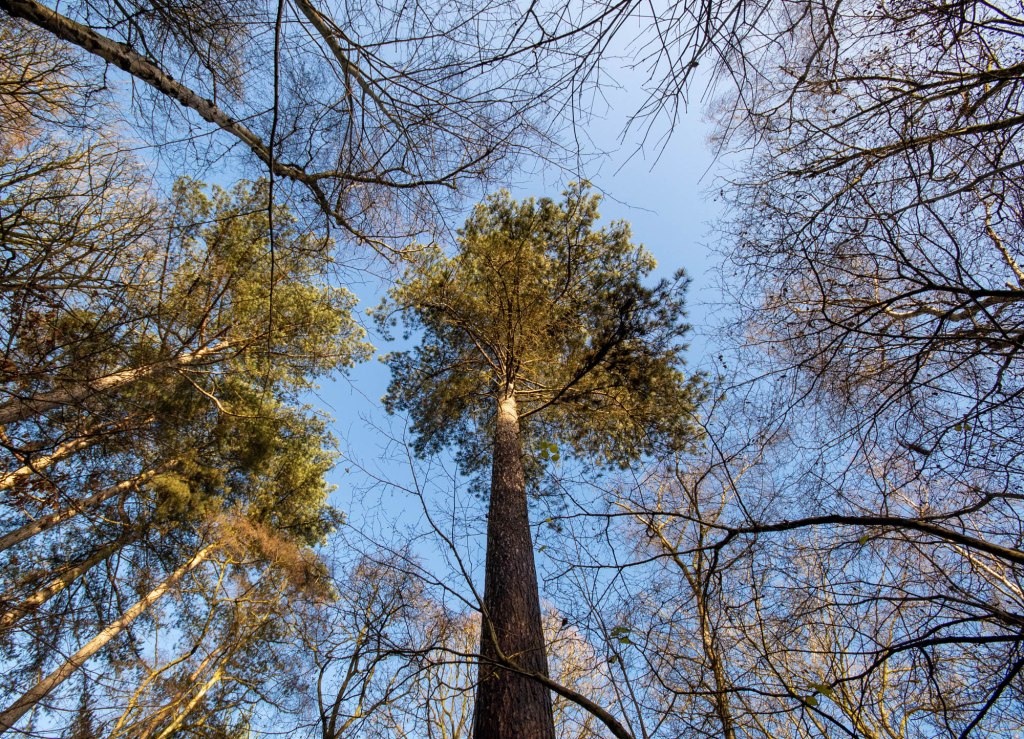
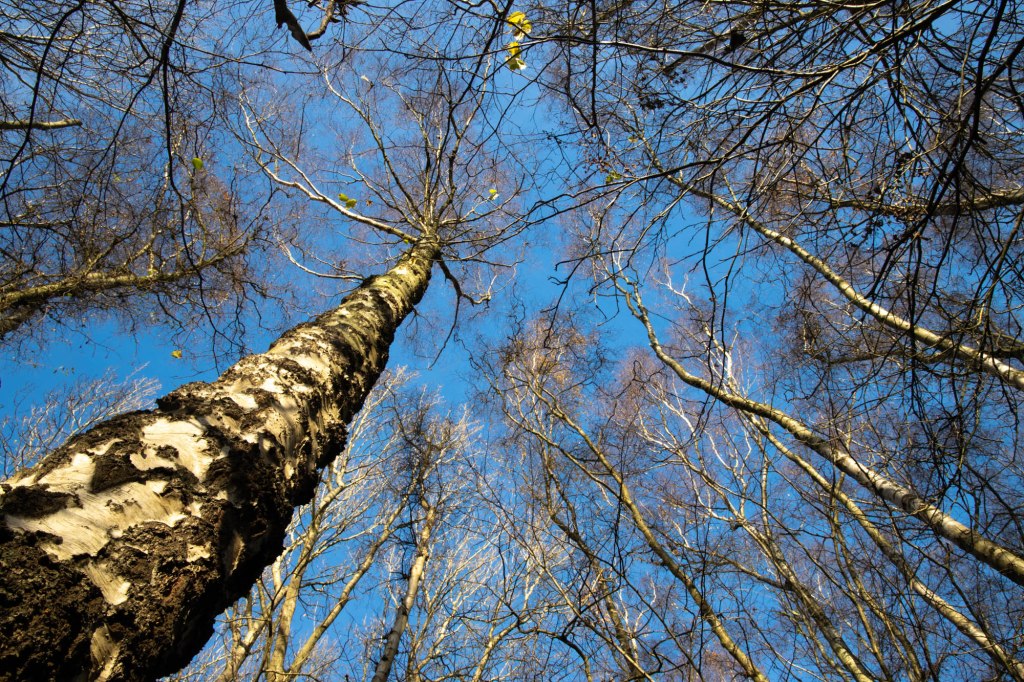
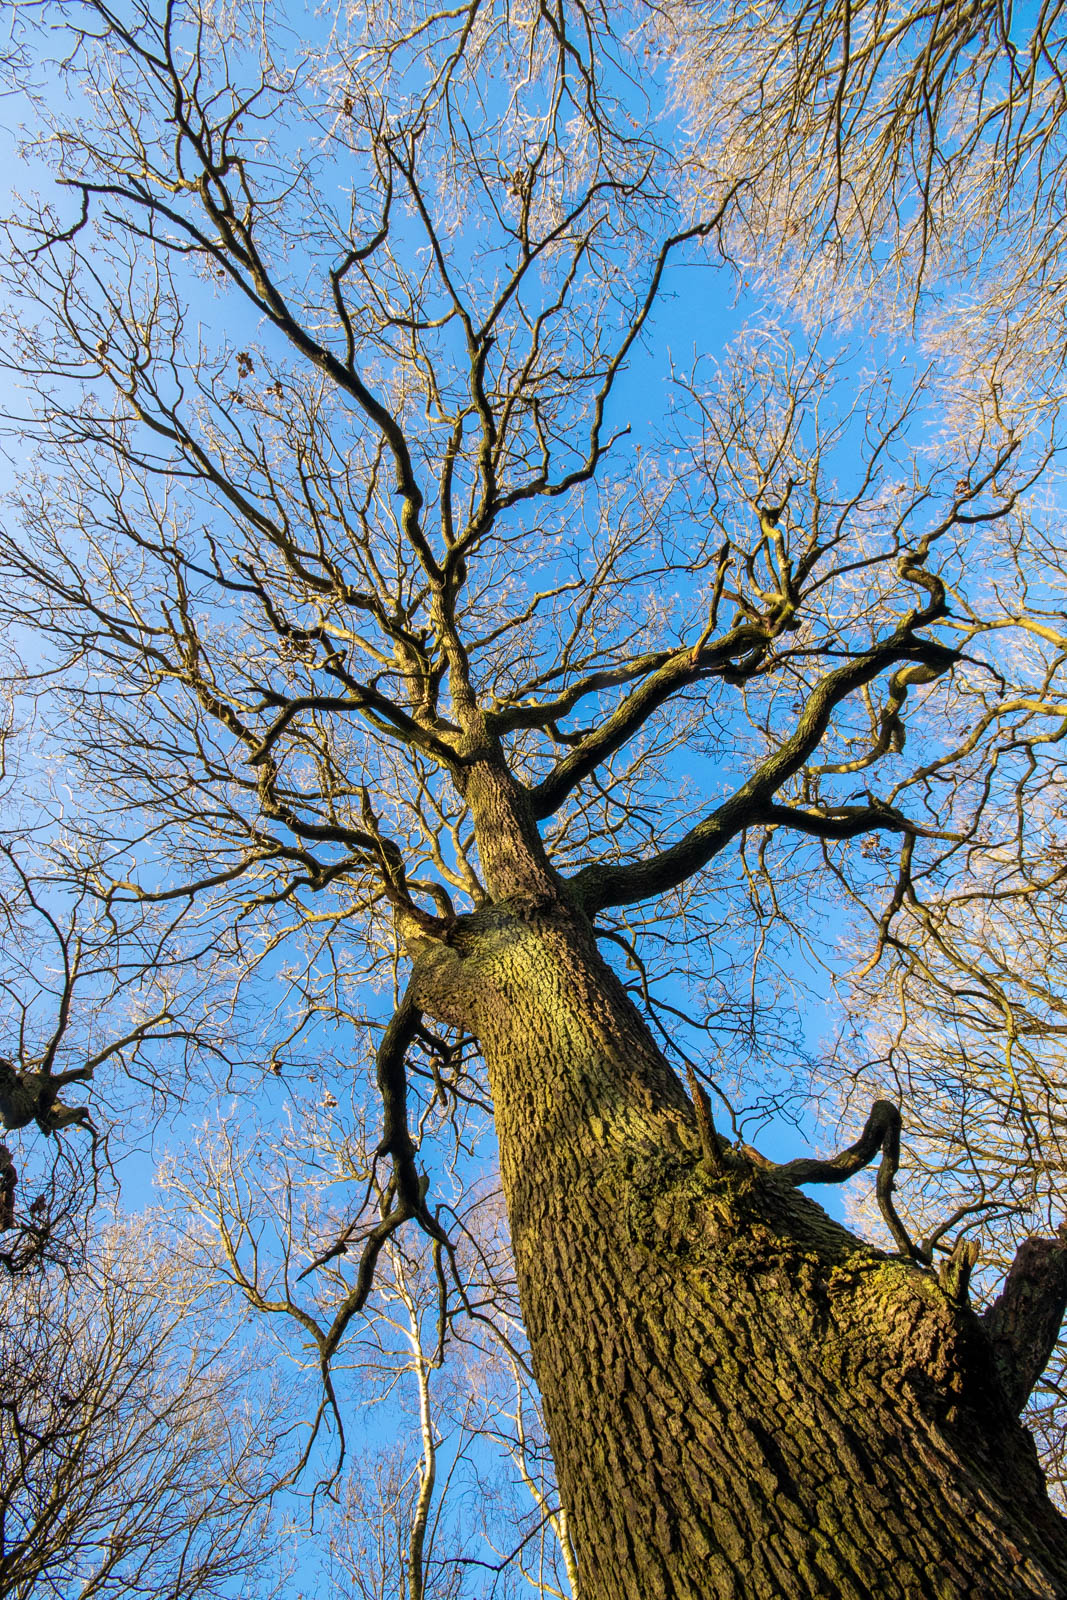
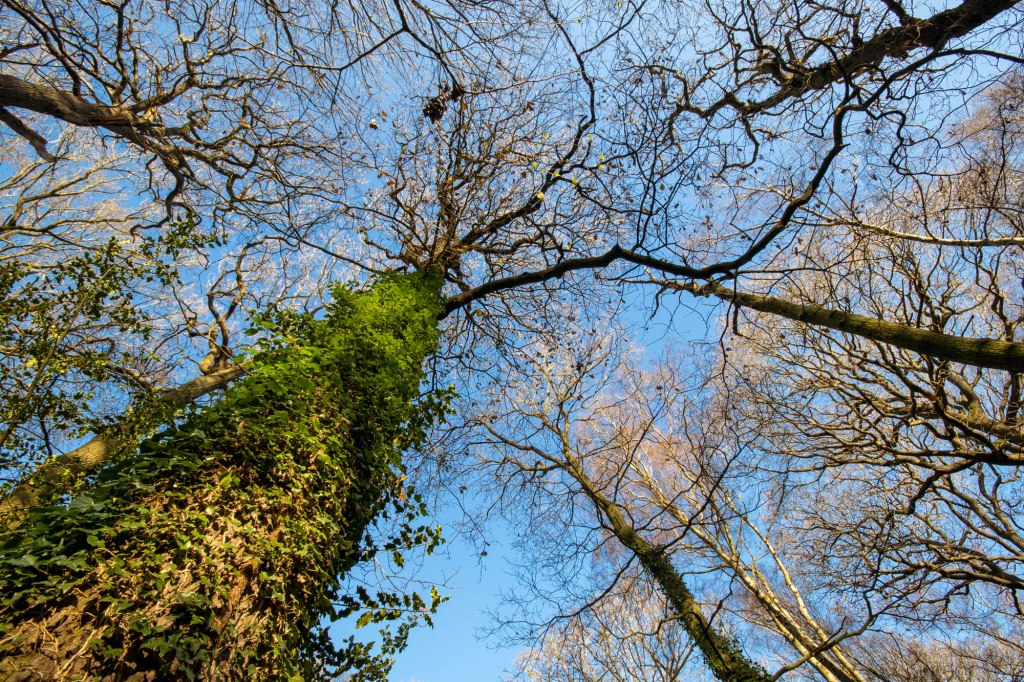
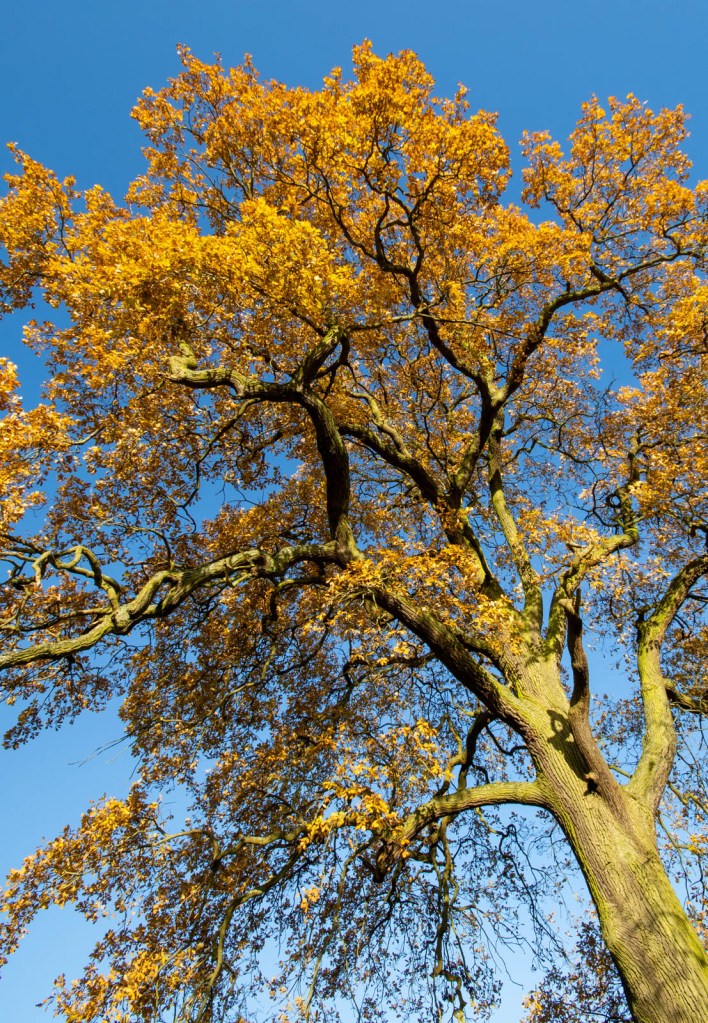
I had no idea whether this was a working camera or not. Also, I needed subjects where I could take my time and get used to the manual settings again. I decided to go to Bradgate Park in Leicestershire, England. I have photographed here many times before so I knew some good spots. The 5 images below are just 5 examples of the 36 shots on the film. I did have a couple of failures due to some schoolboy errors.

Exposure

Unlike later Zinit models there is no exposure meter on this version. I did have some old hand-held exposure meters in my loft but when I checked them out they were dead. So my only option was to revert to my mobile and an App called the Photographer’s Companion. The exposure readings were reasonably accurate. I did have to take a number of readings for each scene and make my own judgement for the average setting.

Pressing the Button

This was the biggest difference for me. Using this manual camera and being limited to 36 shots really slowed down my photography and made me think a lot more before pressing the button. All of which is a good thing. At the time I hadn’t calculated the final total cost. It turned out to be 50 pence per shot. Knowing that now, I would have taken even more time.

Getting the Film Developed and Processed

Many years ago, I was able to develop and print my own film. Sadly, I no longer have the kit so I had to send the film away for developing and printing. The whole process took about 10 days but there was the delayed gratification of waiting for the prints to arrive in the post. I’m not my kids would understand this. It was at this point where I discovered the total cost of the film, the developing, the printing and postage came to a total of £20. For another £20 I could have had scans of the negative. ouch!

The Prints

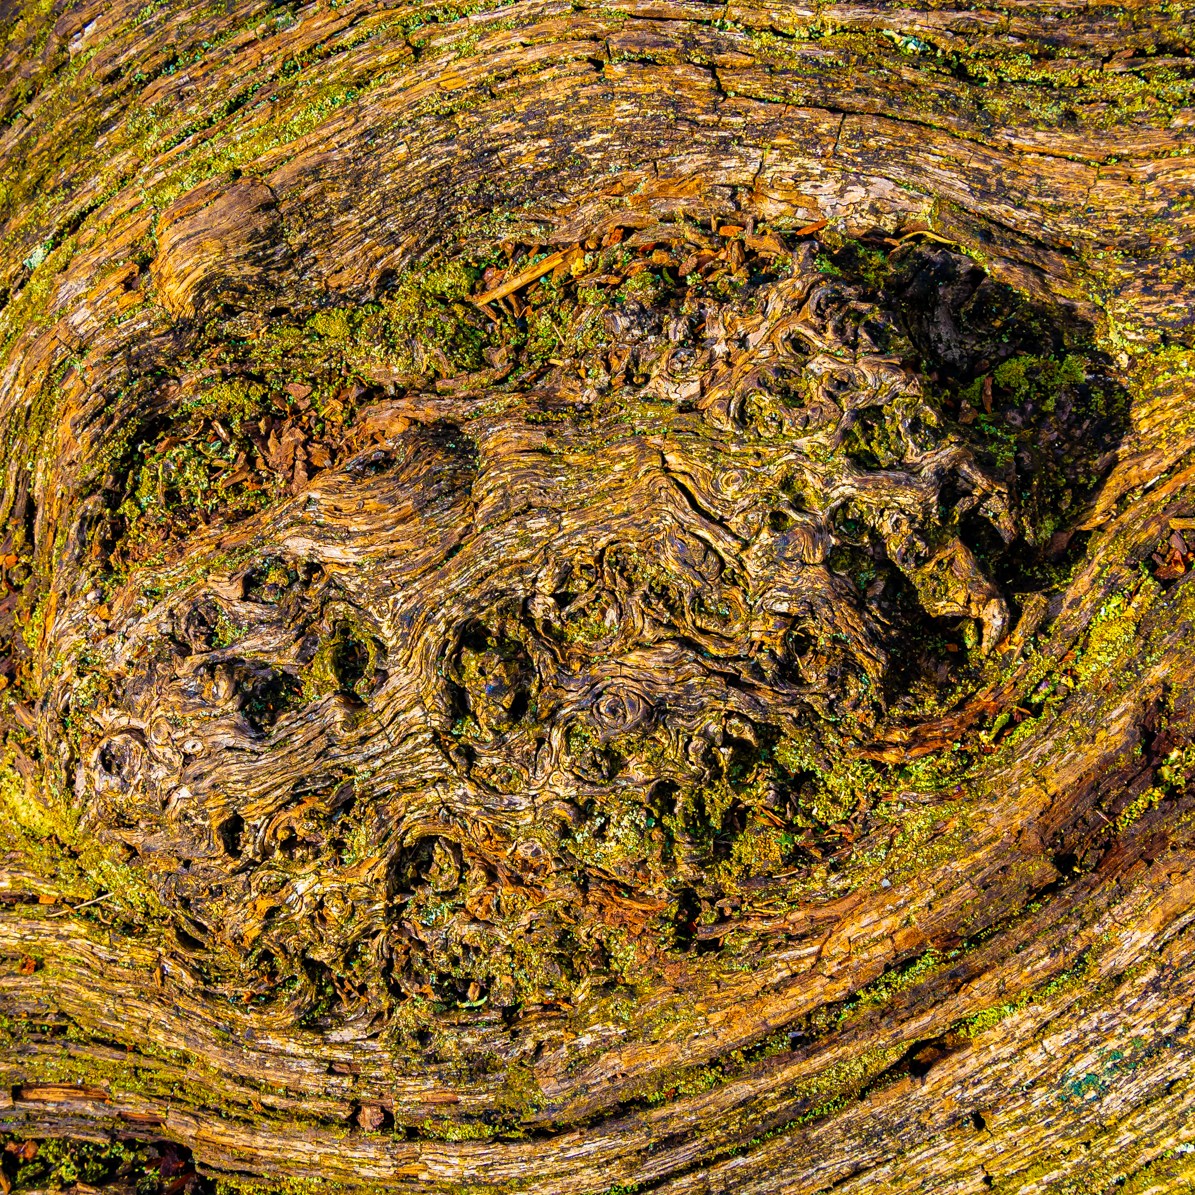
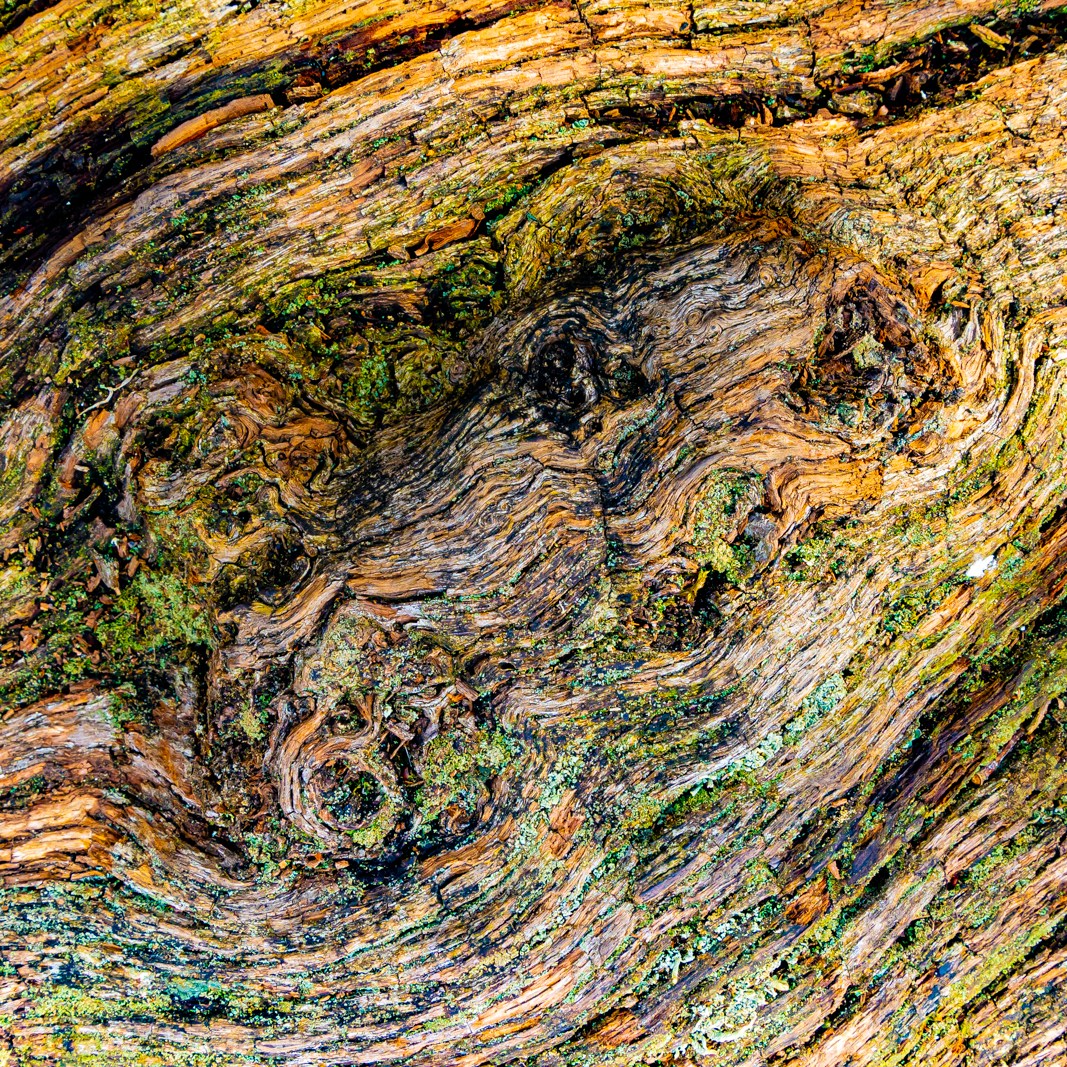
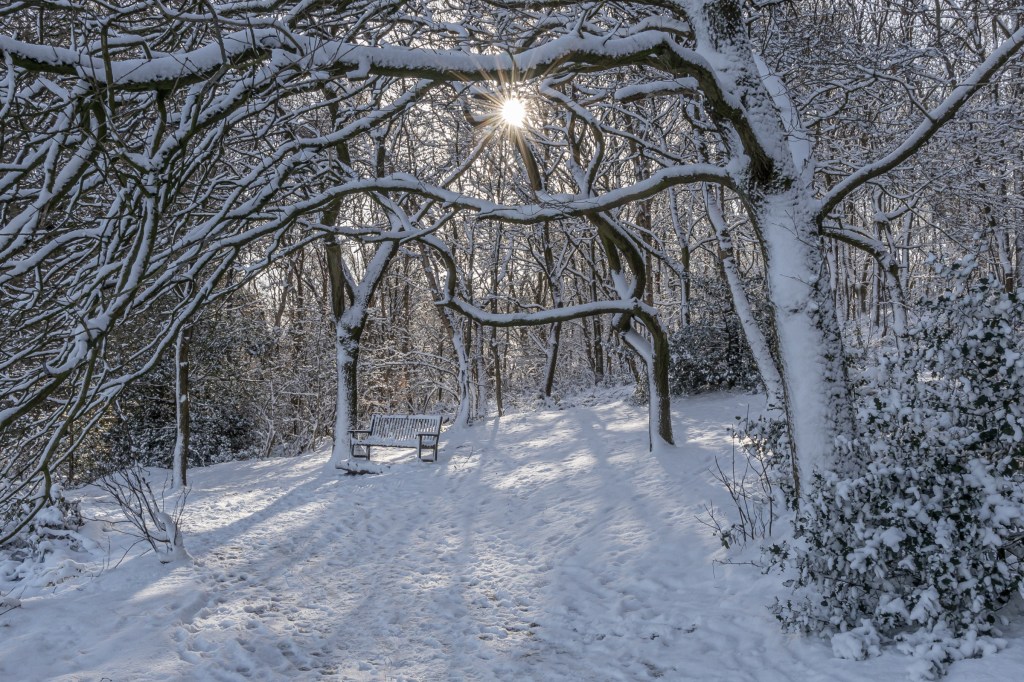
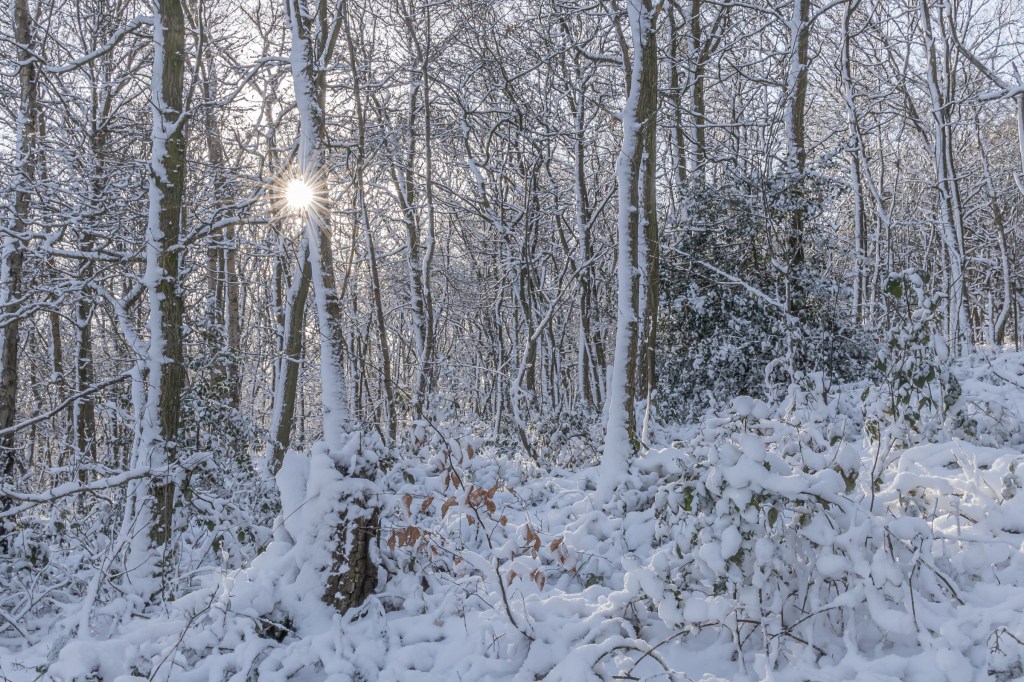
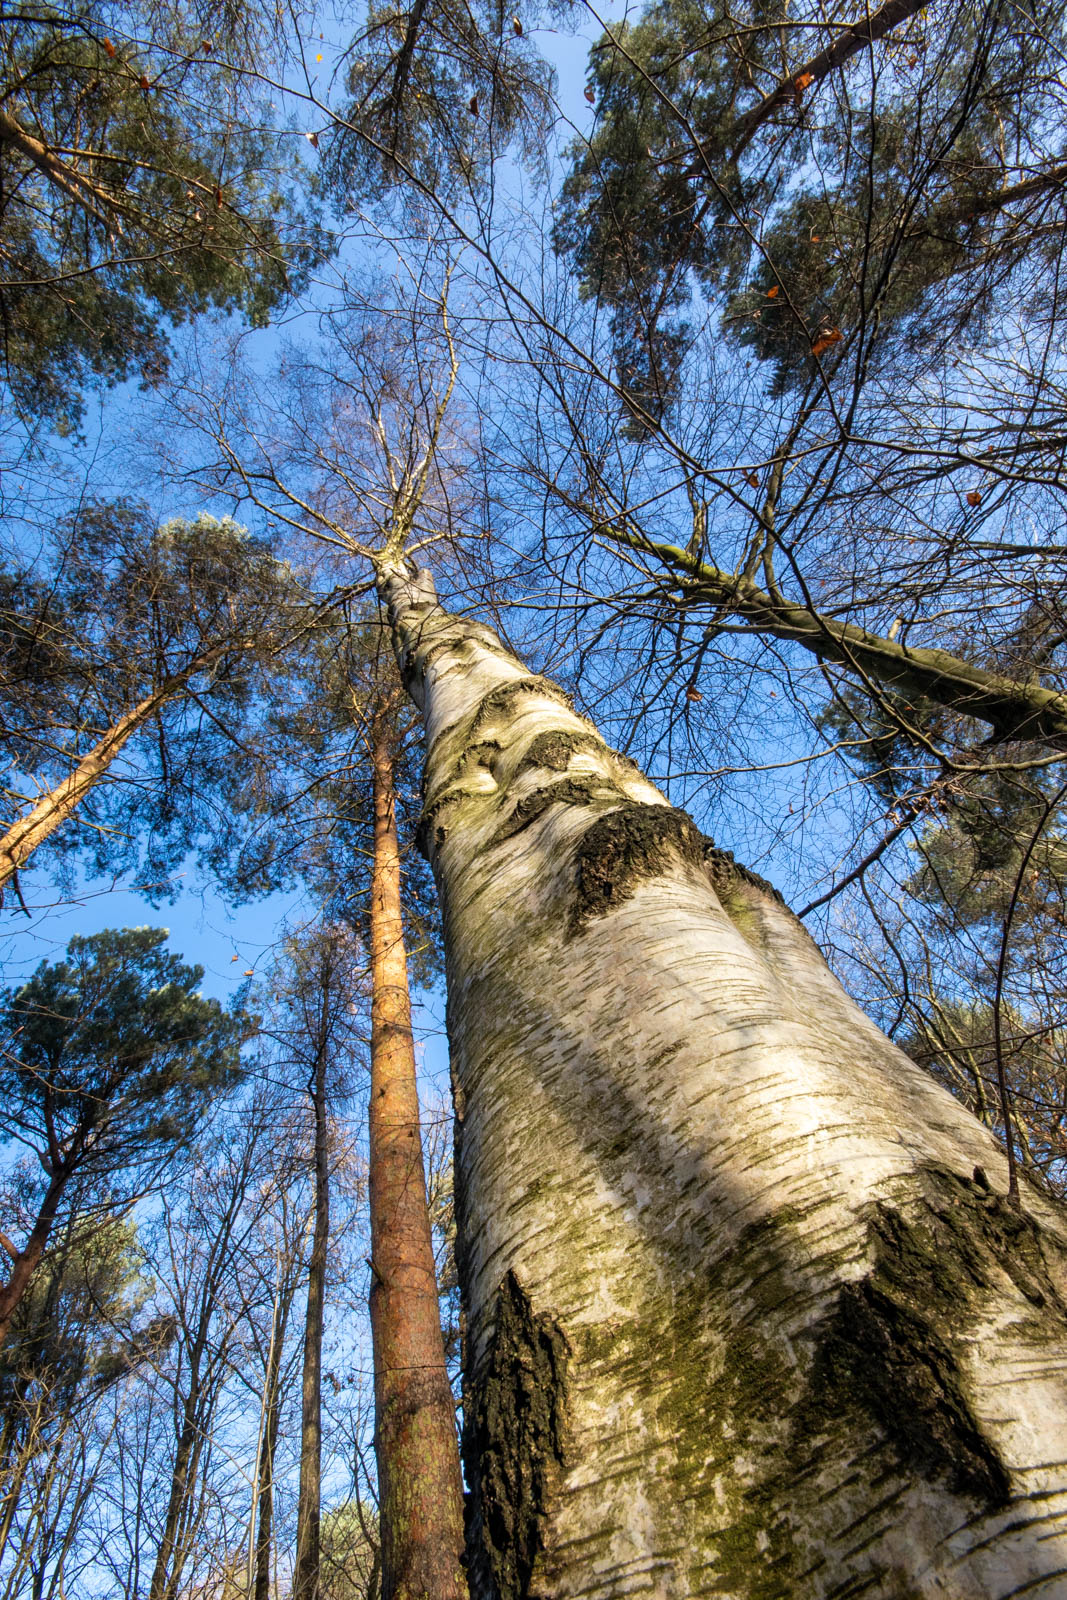
To be honest I was a little disappointed with the prints when I looked at them. I had a look a the negatives and they looked OK. I had to remind myself that the print process will have been automated with average guesses on how the prints should be exposed. I also have no idea of the quality of the print paper used. Have a look at the left side of the images below to get an approximate idea of the prints I received.

Scanning and Editing

My next step was to scan the negatives so that I could go through my current editing processes. As might be expected there was quite a lot of information on the negatives which wasn’t there on the prints. In the main the three editing steps I took were to adjust the overall exposure, adjust the dynamic range and adjust the contrast. All of which I would have been able to do if I had my own printing facilities. My edits on the right-hand side of the images below.

Final Thoughts

I liked the end results including the high contrast and film grain. I really liked the way the manual Zenit slowed down my photography. I will be trying a lot harder to press the button less in future. It was frustrating to have so much of the process out of my control but the modern edits meant I wasn’t disappointed. Would I do it again? Yes, but just as a once-a-year treat. I really love my modern camera.

The Rangers Lodge
Deer in the Bracken
Old John through the Silver Birches at Sliding Stones
Old John from Sliding Stones
The Meadow at Swithland Wood

SPRINGTIME WOODLAND – 2 – Spring Flowers

There are always flowers to be found in woodlands. However, the most most spectacular time is from mid-April through to May. The days are longer, the waether is warmer and the insects are more abundant. The flowers have their best chance of seeing the essentail sunlight at this time of year before the tree canopy becomes too thick.

Here is the forest floor with masses of Bluebells and Wood Anemones filling every available space.

These Wood Anemones are the early starters and can be seen from March. By early May the flwoers start to die back and the Bluebells become the dominant flower.

The easiest flower to spot is the Bluebell with its uniques shape and color.

Essential to all pollenating flowers are the insects. It’s always entertaining to watch the bees trying to squeeze their large bodies into the flower head.

Here are some attractive white flowers. Starting with a nettle and followed by Wild Garic. When I see these I also think of the edible forest. Freshly picked young Nettles will make an excellent sauce or soup. Like shop bought garlic, Wild Garlic offers endless posiiblites for enhancing your cooking.

This low growing yellow flower is the Lesser Celandine is another of the first spring woodland flowers and is a member of the buttercup family.

Celandines are mentioned in ‘The Lion, the Witch and the Wardrobe’ when Aslan returns and the wood turns from winter to spring: “Edmund saw the ground covered in all directions with little yellow flowers – celandines”.

To finish we have some of the most vibrant flowers. There is the blue Wood Forget-me-not. The pink flower is in fact called a Red Campion. Like the other flowers in this blog they provide vital food for Bees, Butterflies and Moths.

Springtime Woodland – 2 – Wood Anemones

One of the first signs that the spring growth is truely established is the appearance of the Wood Anemones on the wooland floor. They are normally found in ancient woodland such as these in Swithland Wood in Leicestershire in England. Like all flowers they need lots of sunlight so these flowers appear in late March before the leaves get established in the tree canopy above. They are at their best around mid April but the weather can make a difference.

This is from the entrance to Stocking Wood. This is a part of Swithland Wood which is run by the Bradgate Park Trust.

Its seeds are mostly infertile and it spreads slowly through the growth of its roots.

The Wood anemone is named after the Greek wind god, Anemos, who sent his namesakes, the anemones, in early spring to herald his coming. This legend gives the flower its other common name of ‘Windflower’.

Of course the wood anemone is a vital source of early pollen for insects and bees.

Springtime Woodland – 1 – Early Spring

After the long winter and as the days start to lengthen the woodland starts to renew with the first signs of new growth. The images here were all captured in Swithland Wood in Leicestershire in the UK. As with all woods it has it’s own unique characteristics. It is recognised as a site of special scientific interest.

Many of the buds on the trees are visisble throughout the winter but the emergence of the new leaves is a joy.

Another early apperance in the woodland are these hazel catkins. They are in fact flowers but without petals.

Of course the mosses seem to thrive thought the winter. A close inspection in spring will show some clesr new growth.

The most noticeable new comers in the spring are the low growing woddland flowers. They are successful at this time of year becuase they don’t have to compete with a heavy tree canopy which block the sunlight. They are also vital in supporting early bees, butterflies and moths. The purple flower is an early dog violet. The yellow flowers are Lesser Celandine.

There is a section of Swithland Wood called Stocking Wood where some species are very prolific. In late March and April the whole floor is covered in these Wood Anemonies.

Another vital element to the ecology of the woodland are the pollen bearing trees. Here is the fabulous Hawthorn Blossom.

My next blog will be when the Bluebells are fully out.

Winter Woodland Part 4 – Patterns in the Ancient Oaks

One very good way to spend an hour or two is to explore the many Ancient Oaks in Bradgate Park in closeup. I find the shapes and colours generated by over 500 years of growth totally absorbing. I don’t think any particulrly commentary is required here. I hope you can enjoy the images for what they are.

Winter Woodland Part 3 – The Outwoods with Snow

As it has been a couple of yaers sunce there has been some local snow it was nice to see aome snow arrive over the last couple of weeks. My Winter Wood series jist wouldn’t be complete,

I was quite fortunate to find a day after the first snow fall when the sun was out. This did test my photograhic skills with the extreme contrast in light. The camera never captures what your minds eye can see. I needed to do quite a bit of post processing work to lower the very bright sun and lift the dsrker areas. I like this image becuase it shows the typical english snow. It never gets too cold and so the snow is always wet and sticks to the tree trunks. This does make for a great image.

Another two images on the same theme. When I was walking in the wood I felt like I had stepped out of a wardrobe into Narnia.

The snow in the wood is ofcourse a great chance to create some true Black and White images. My favourite tree for this style of image is the Silver Birch because of the texture along the trunk.

There is very little snow but the stream offered this little Robin some sanctury and food.

No matter what the weather dogs always get their walk,

One of the features of many of the woods in the Charnwood Forest are the rocky outcrops. There are almost always volcanic and have interesting angular shapes. There will more about this in my next blog.

The edge of the Outwoods are surrounded by farmland. Even so it is good to see that a number of mature trees still remain.

Winter Woodland – Part 1

Being at home at this time of year and looking out of the window at yet another rainy day it is very easy to give up on the great outdoors. However, it is very rare for it to rain everyday. There is some great soft winter light which can reveal all of the hidden features of a winter woodland. Fog can bring a feeling of mystery. Snow and frost paints a whole new world.

In part one of this blog I’ll show you a sunny December day in Swithland Wood in Leicestershire. I’ll take a look at what is exposed in the trees when all of the folliage has gone from the branches.

Swithand Wood is a mature wood being remnant of the ancient Charnwood Forest. It is a site of special scientific interest because of its many and varied species. Here we have a group of Scots Pine which don’t make a particularly interesting image. This is due to their immense height with a relatively small canopy perched on top.

Getting right underneath one of these tall pines with a wide angle lens produces a far more interesting view. The effect compresses the height and the image captures both the essential features and the surrounding tree top environment.

Moving to another part of the wood reveals how the tree canopy looks once all of the leaves have fallen. This view was achieved by laying on the floor looking directly up and making use of a 16mm wide angle lens. This view is how I imagine the roots would look if all of the soil was removed. It is also interesting to see how the trees compete for every inch of sky to gain access to the life giving sunlight.

One of my favourite trees to photograph is the Silver Birch. I like the light produced by the bright bark which contrasts wonderfully with the dark layers underneath. This combination leads to a very pleasing and varied contrast. This view shows how much the trees compete for the light and results in very tall growth when the surrounding trees are close togther. As with the previous image this image was captured very close to the base of the tree.

Here are two more examples illustrating both the tree texture and canopy.

This image shows how there is a great interdependance between the species. It does look like the Ivy is attempting to strangle the tree. However, this is not the case as the Ivy needs the host to suceed in order to thrive.

To finish here is a youngish oak which still has hold of its leaves in December. The golden leaves make for a beautifull colour contrast with the blue sky behind.